Klaviyo Setup & Usage Guide
There are 3 simple steps to successful integration of SendForensics with Klaviyo:
- Add SendForensics as a contact in Klaviyo
- Activate the Plugin within SendForensics
- Start using the new workflow!
Step 1. Add SendForensics as a contact in Klaviyo & create a testing list
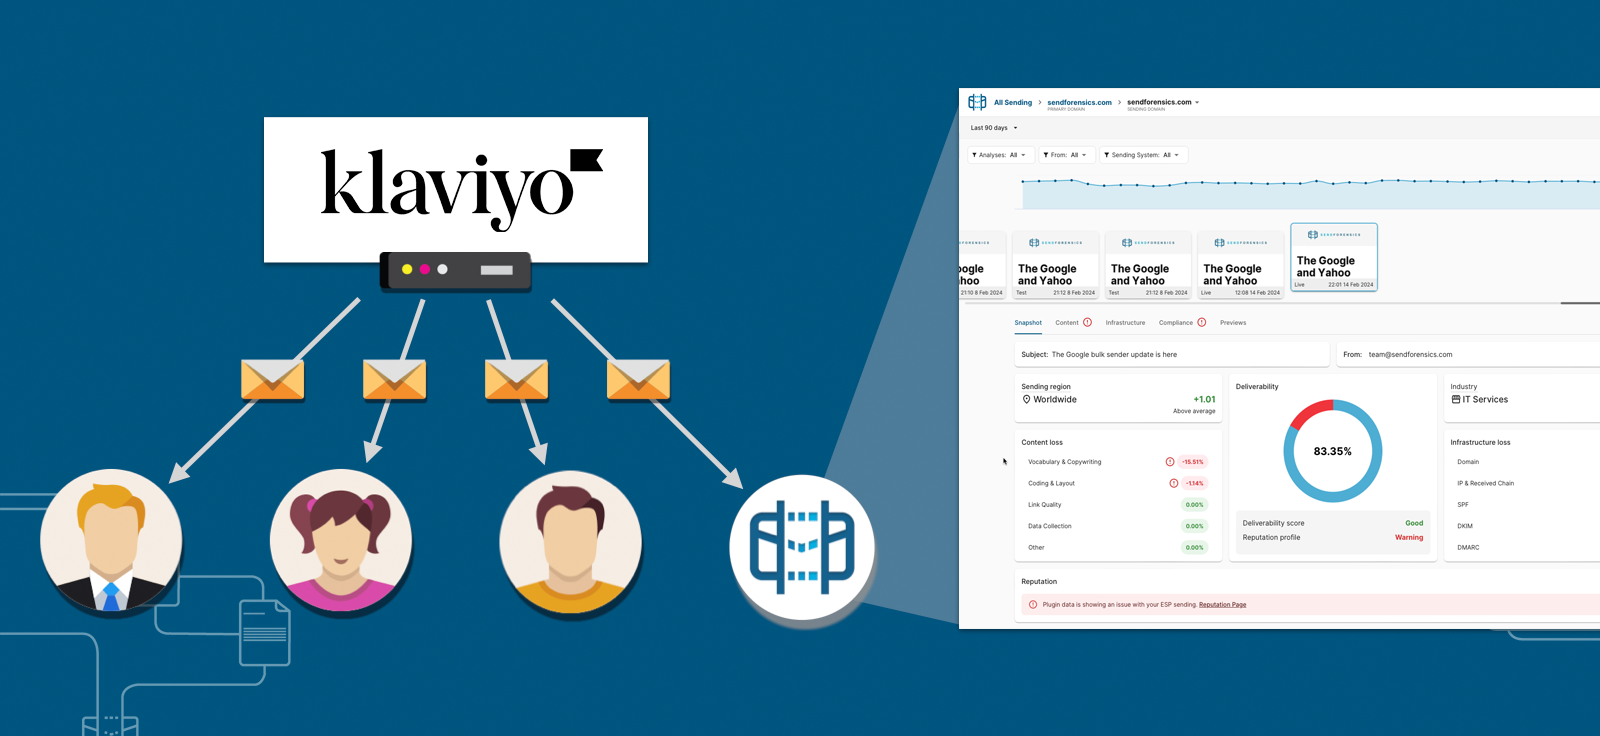
The SendForensics system needs to become another recipient of your emails to be able to analyze your deliverability properly:
To do this, first locate your unique SendForensics analysis address within your SendForensics account (Account > Addresses):
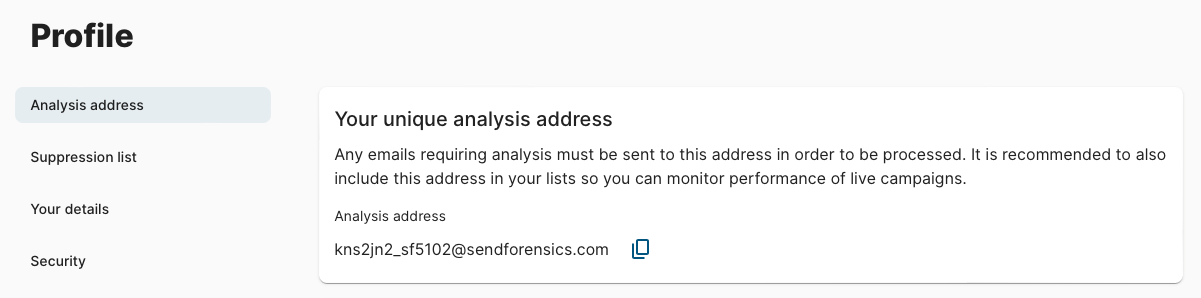
Now copy this unique analysis address and add it as a new contact (profile) within your Klaviyo audience.
We would suggest creating a new list just for this contact, calling it something recognizable such as 'Deliverability Testing' so it can be easily included in all live sends, and also used for pre-send tests.
Now whenever you send an email campaign within your Klaviyo account, always include this list and the SendForensics system will receive a live copy for analysis.
Step 2. Activate the Plugin within SendForensics
This will enable the automated analysis of your Klaviyo engagement data* to complete the deliverability picture:
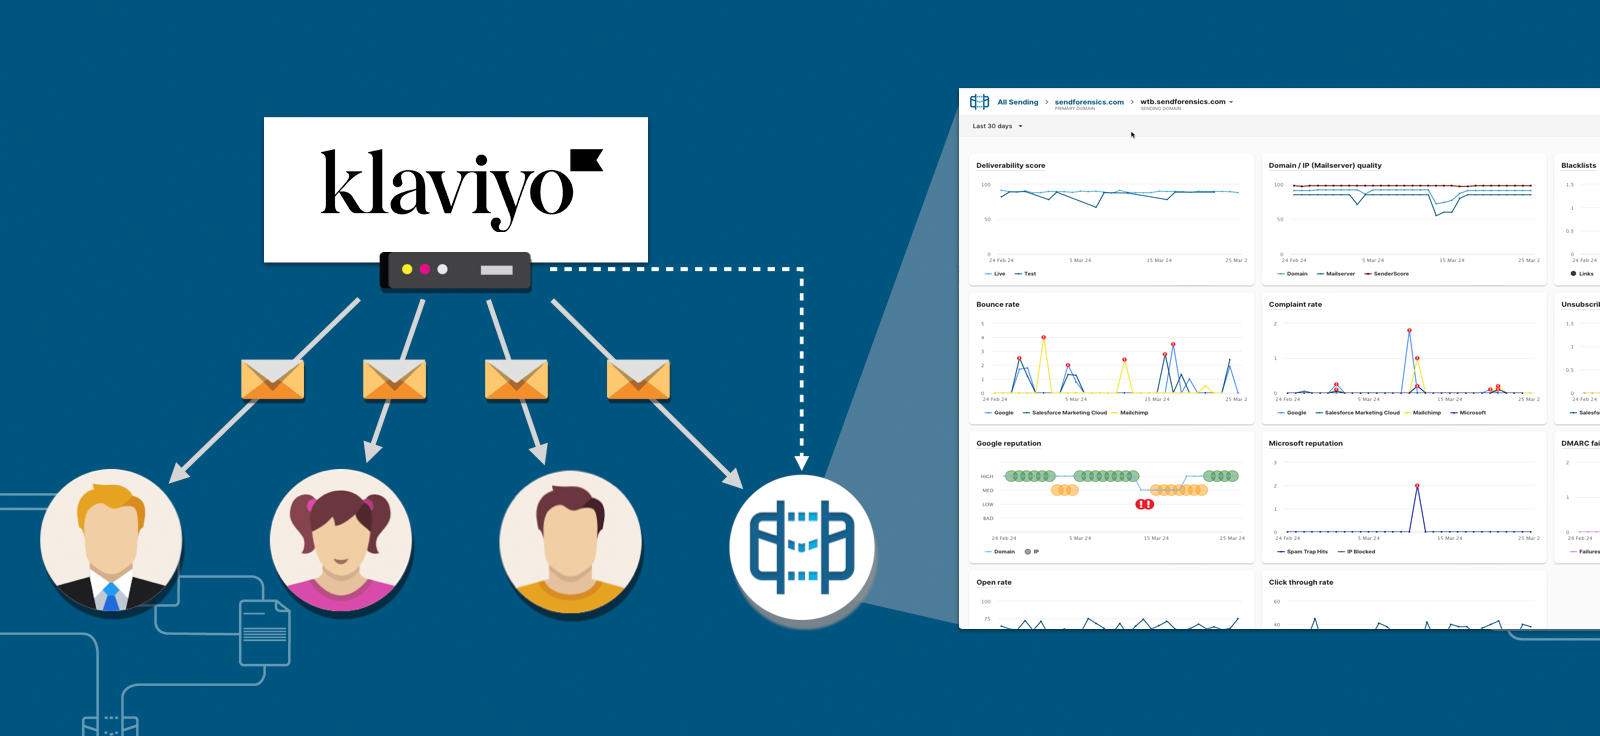
*Anonymous, aggregated email marketing metrics containing no personally identifiable information (PII). More information »
To enable Klaviyo plugin, you will need to generate an API key from your Klaviyo account.
To get started quickly, simply follow these steps.
1. Login into your Klaviyo account. On the dashboard, click on the Profile name in the bottom left and select settings.
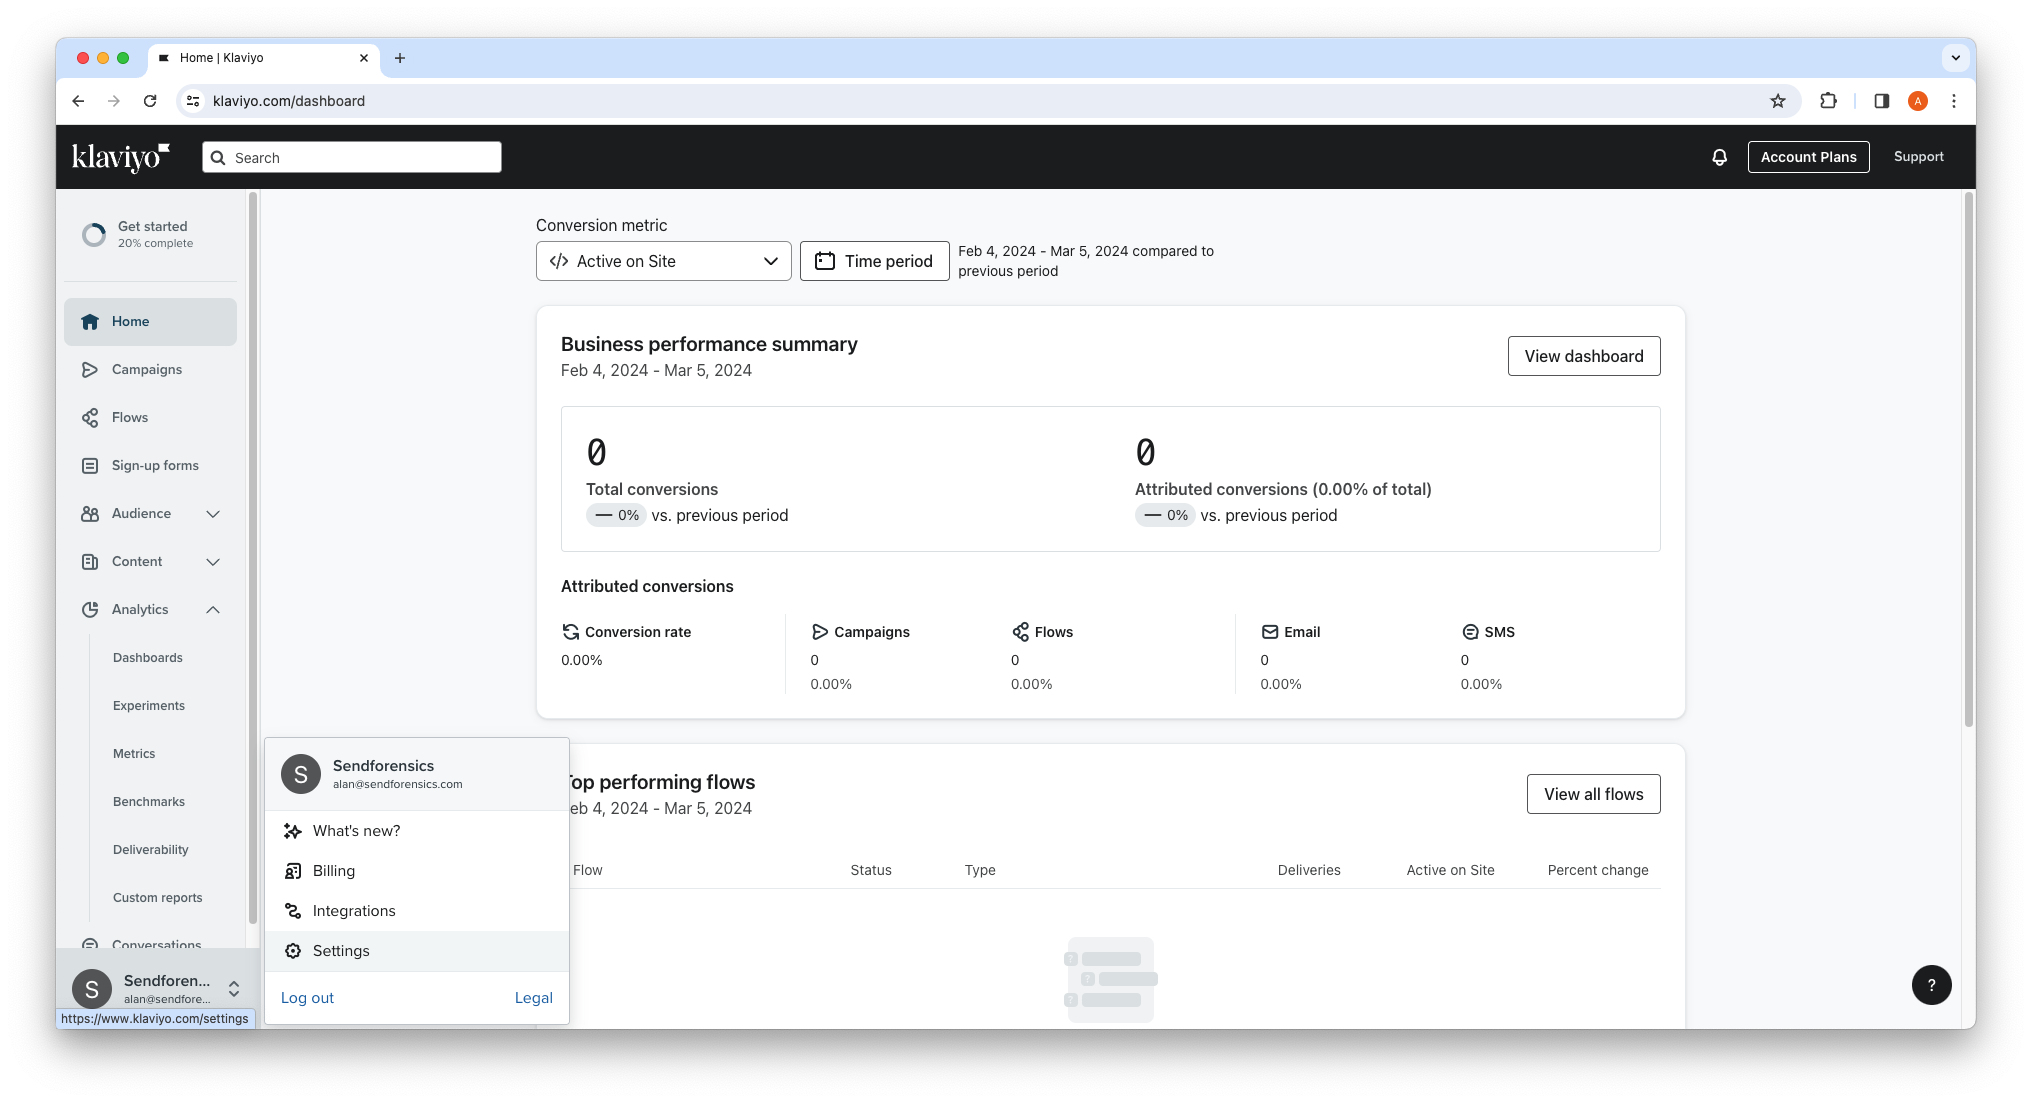
2. Click on the API keys tab and click on Create Private API key.
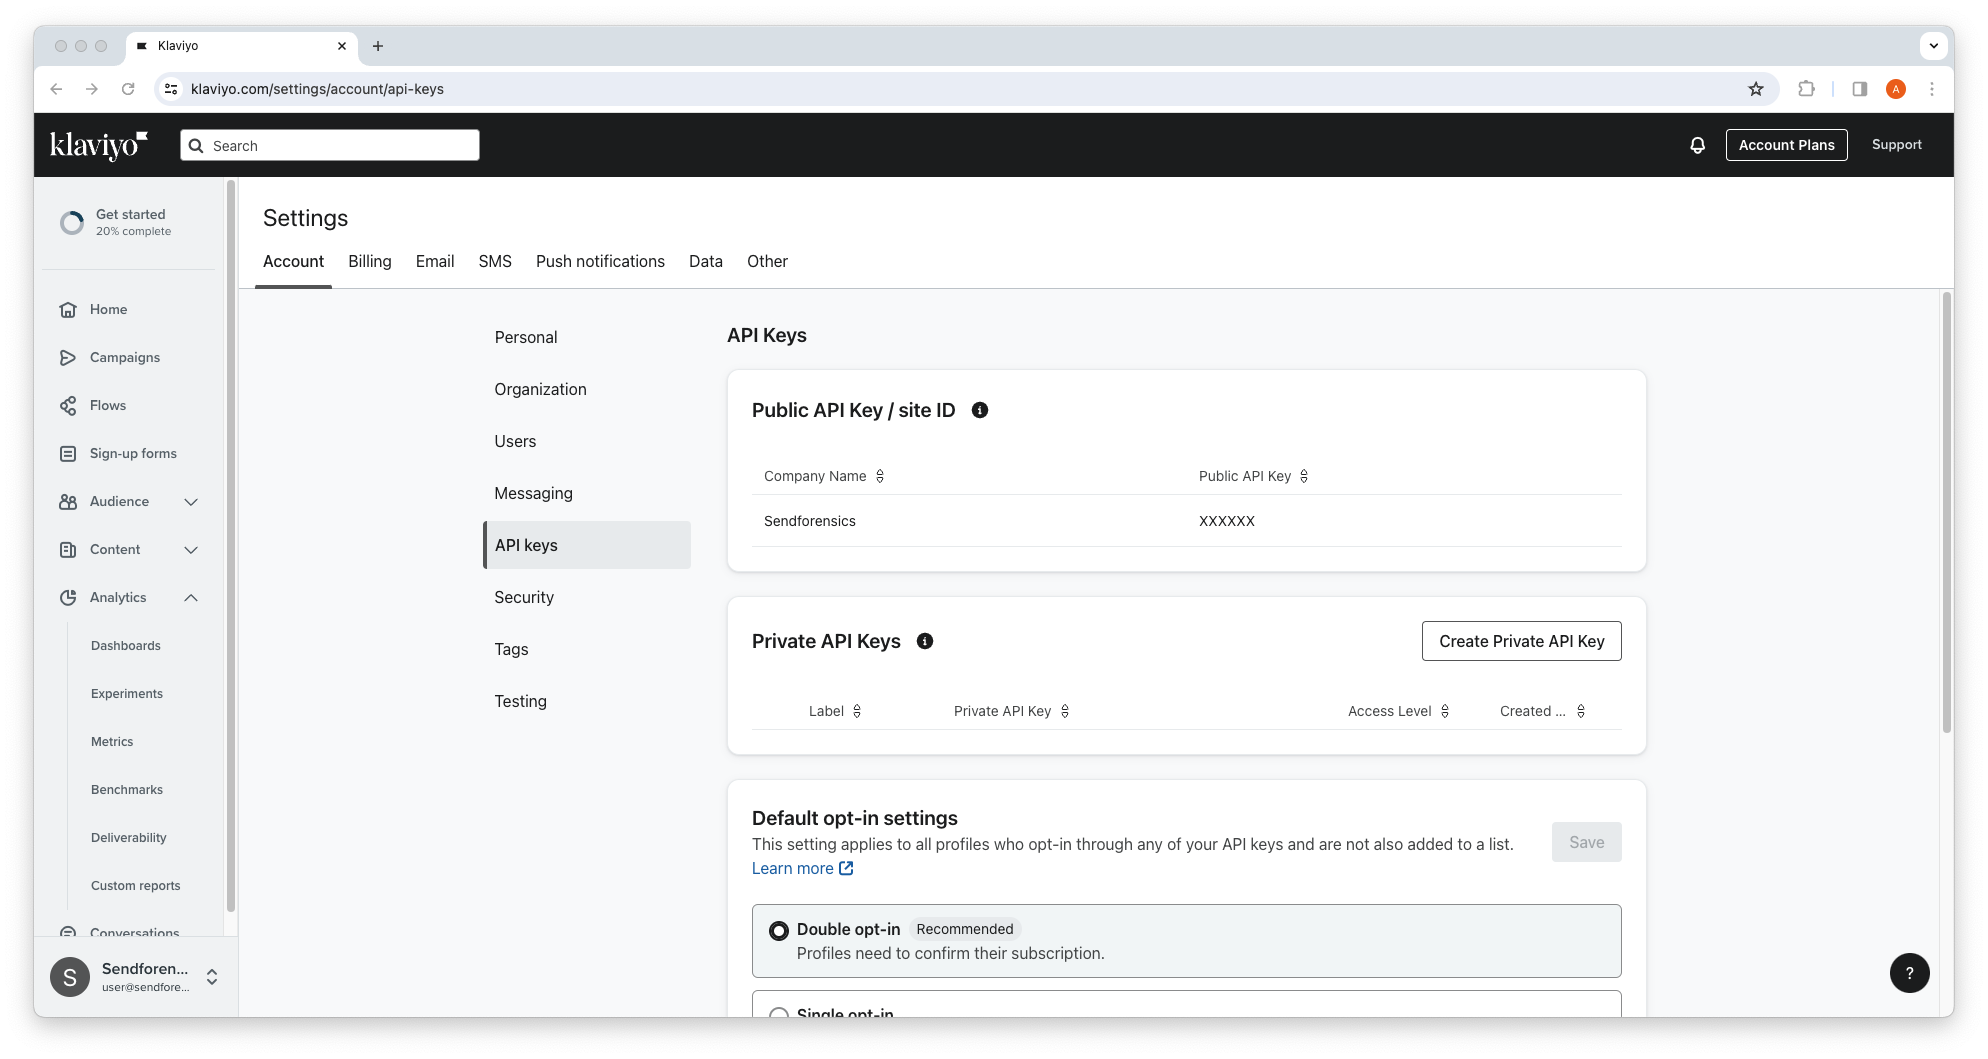
3. Add a name for the Private API Key Name (e.g SendForensics API key) and select Custom Key.
4. Allow read access to Campaigns and Metrics and click Create.
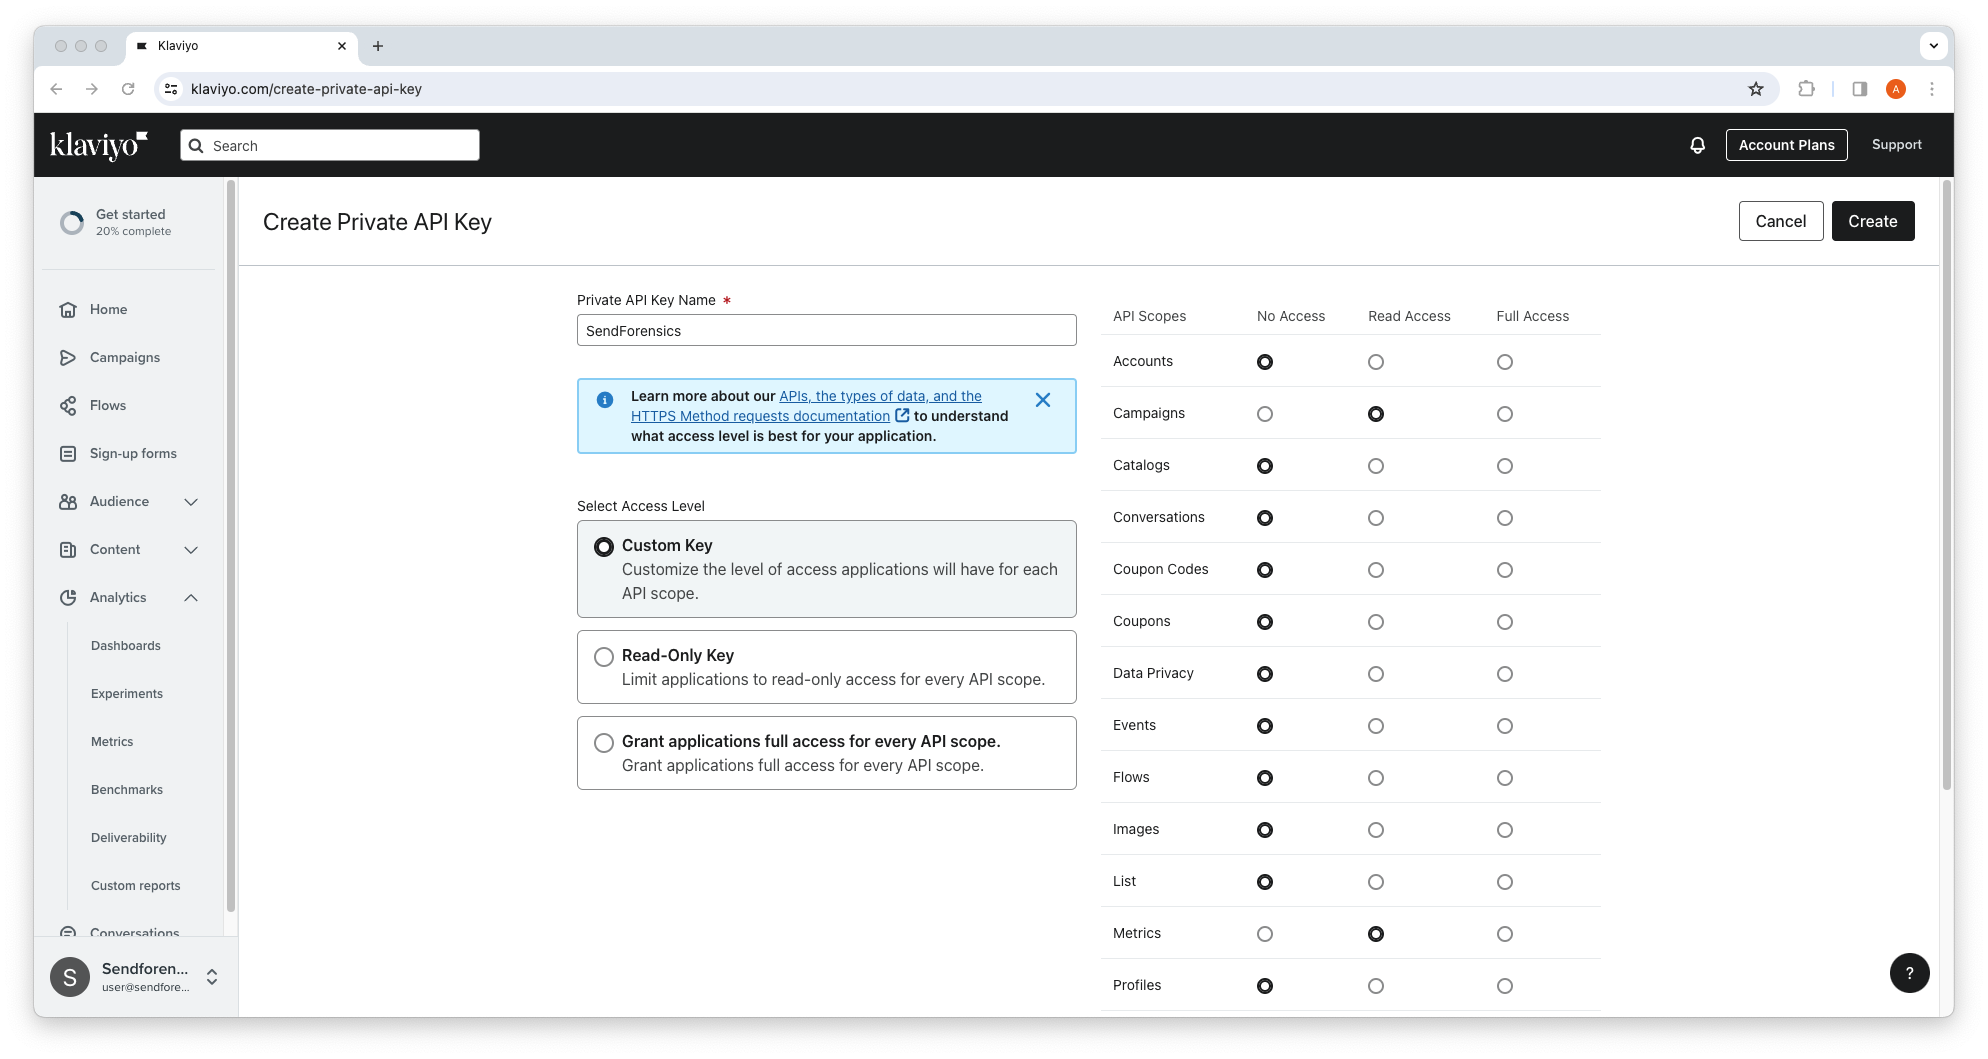
5. Copy the newly generated API key.
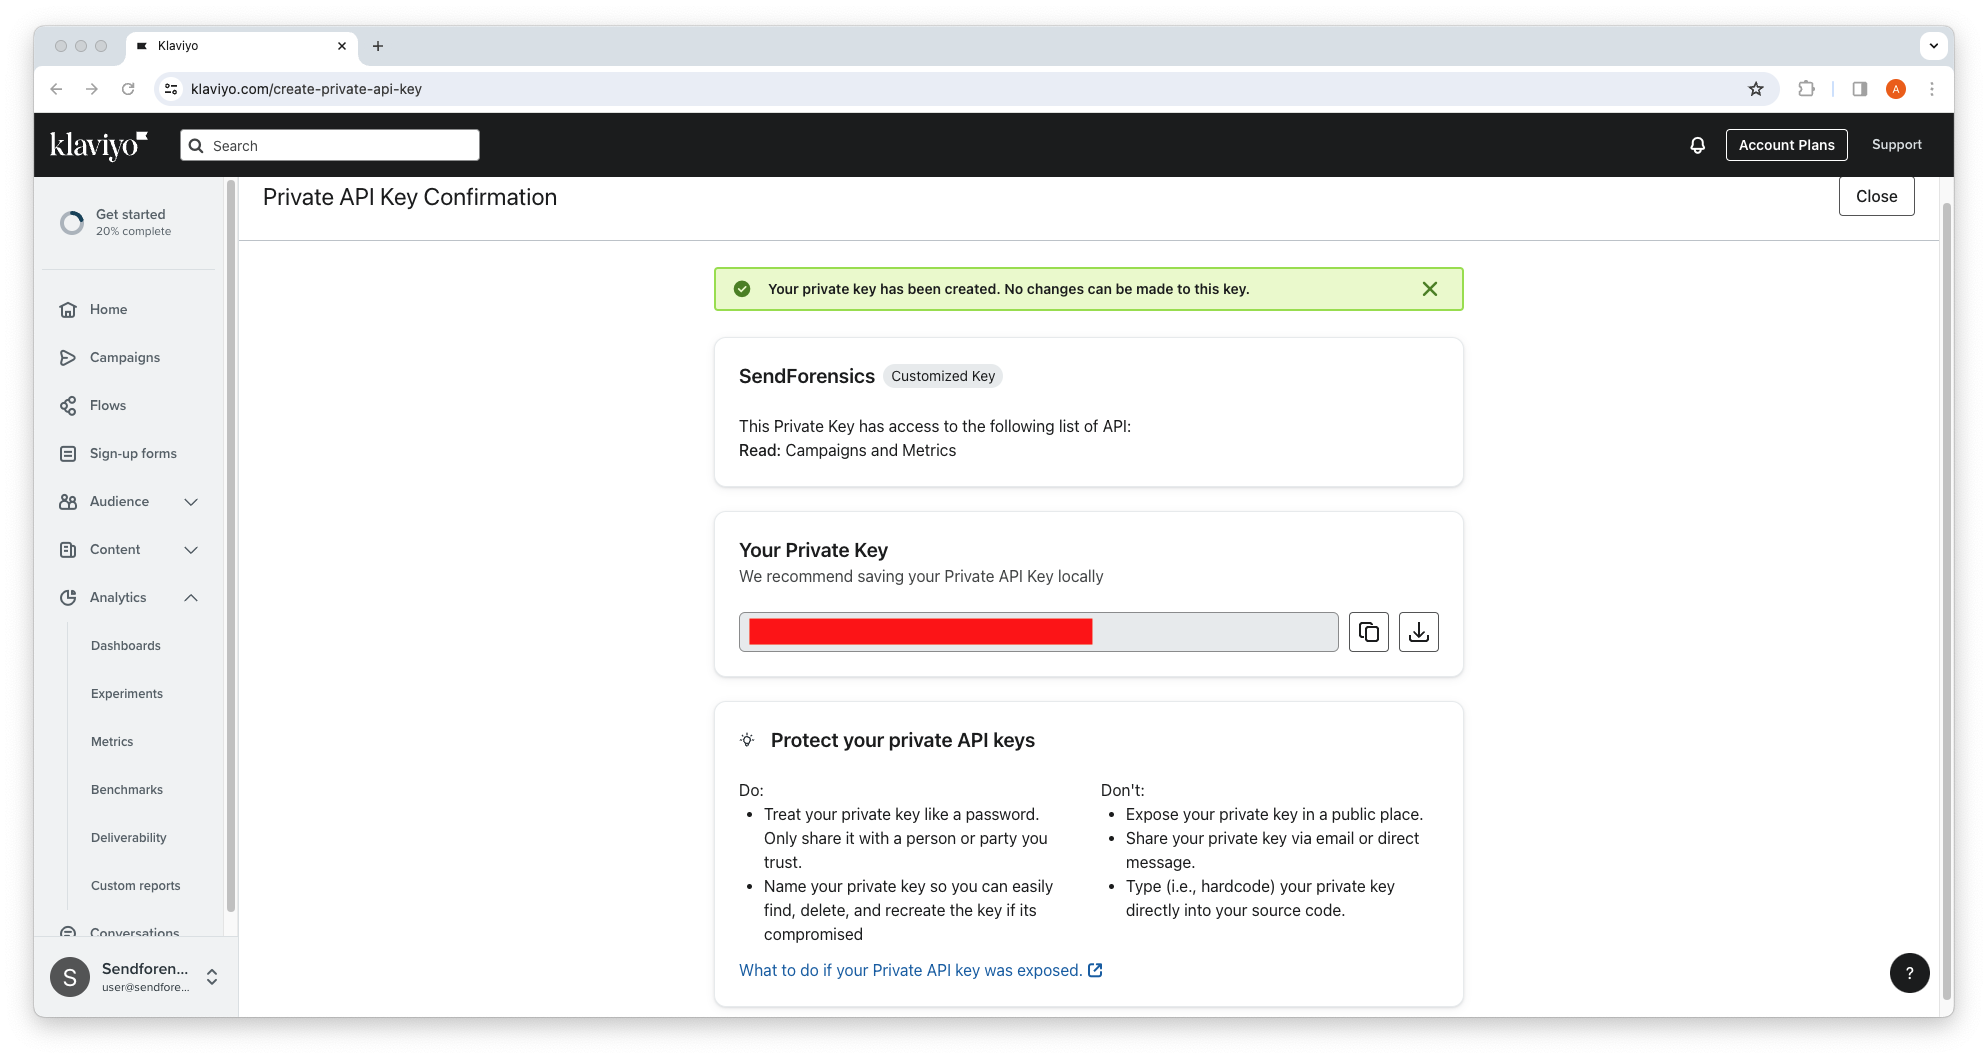
6. Login into your SendForensics account, visit the domains page. (Profile icon > Domain settings).
7. Click on the desired domain and go to ESP integrations.
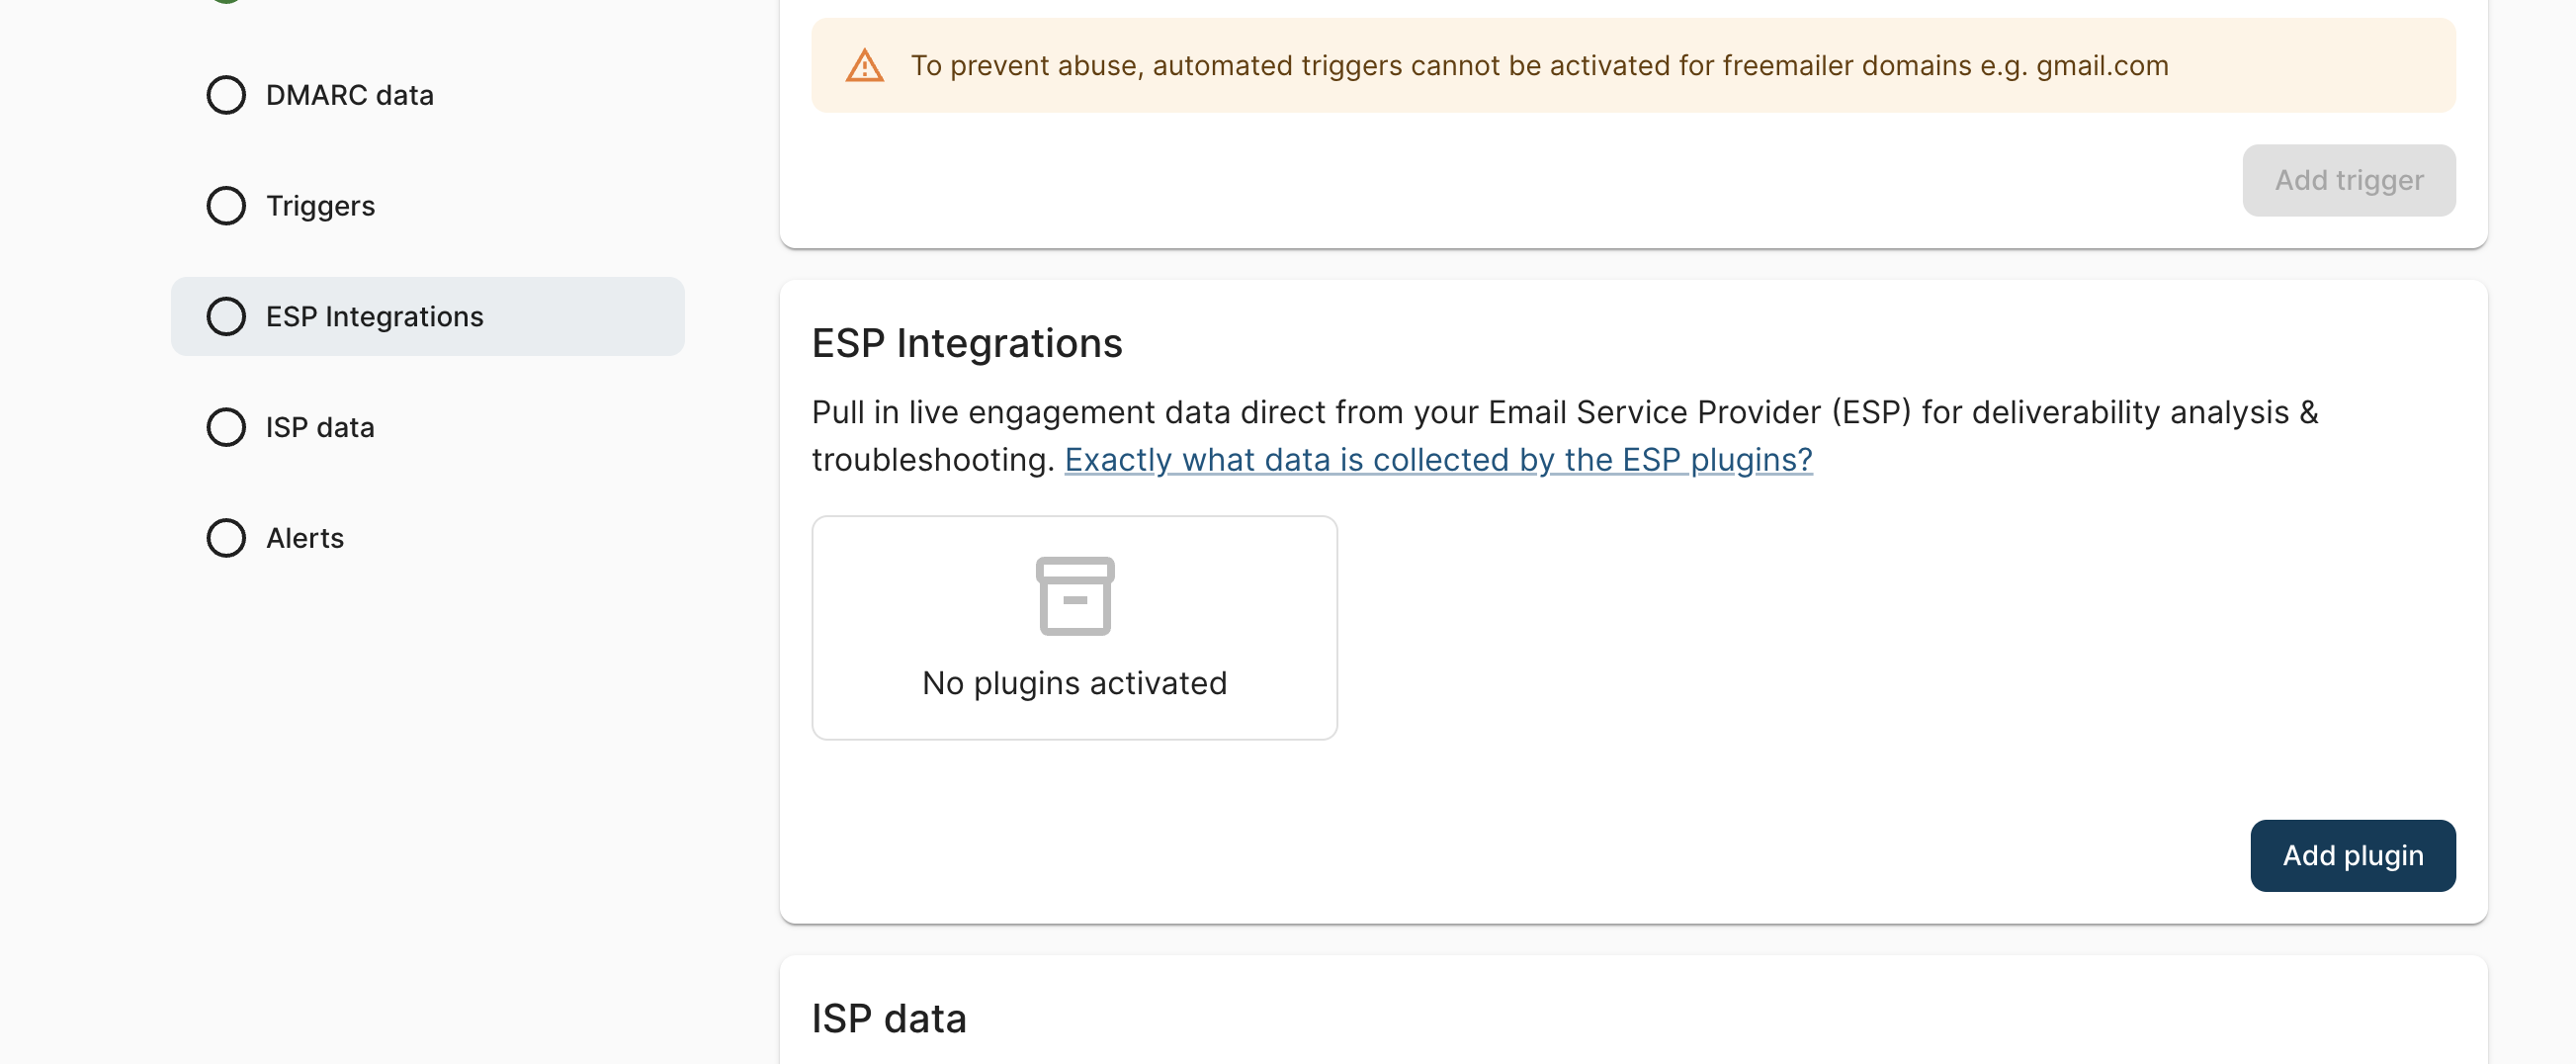
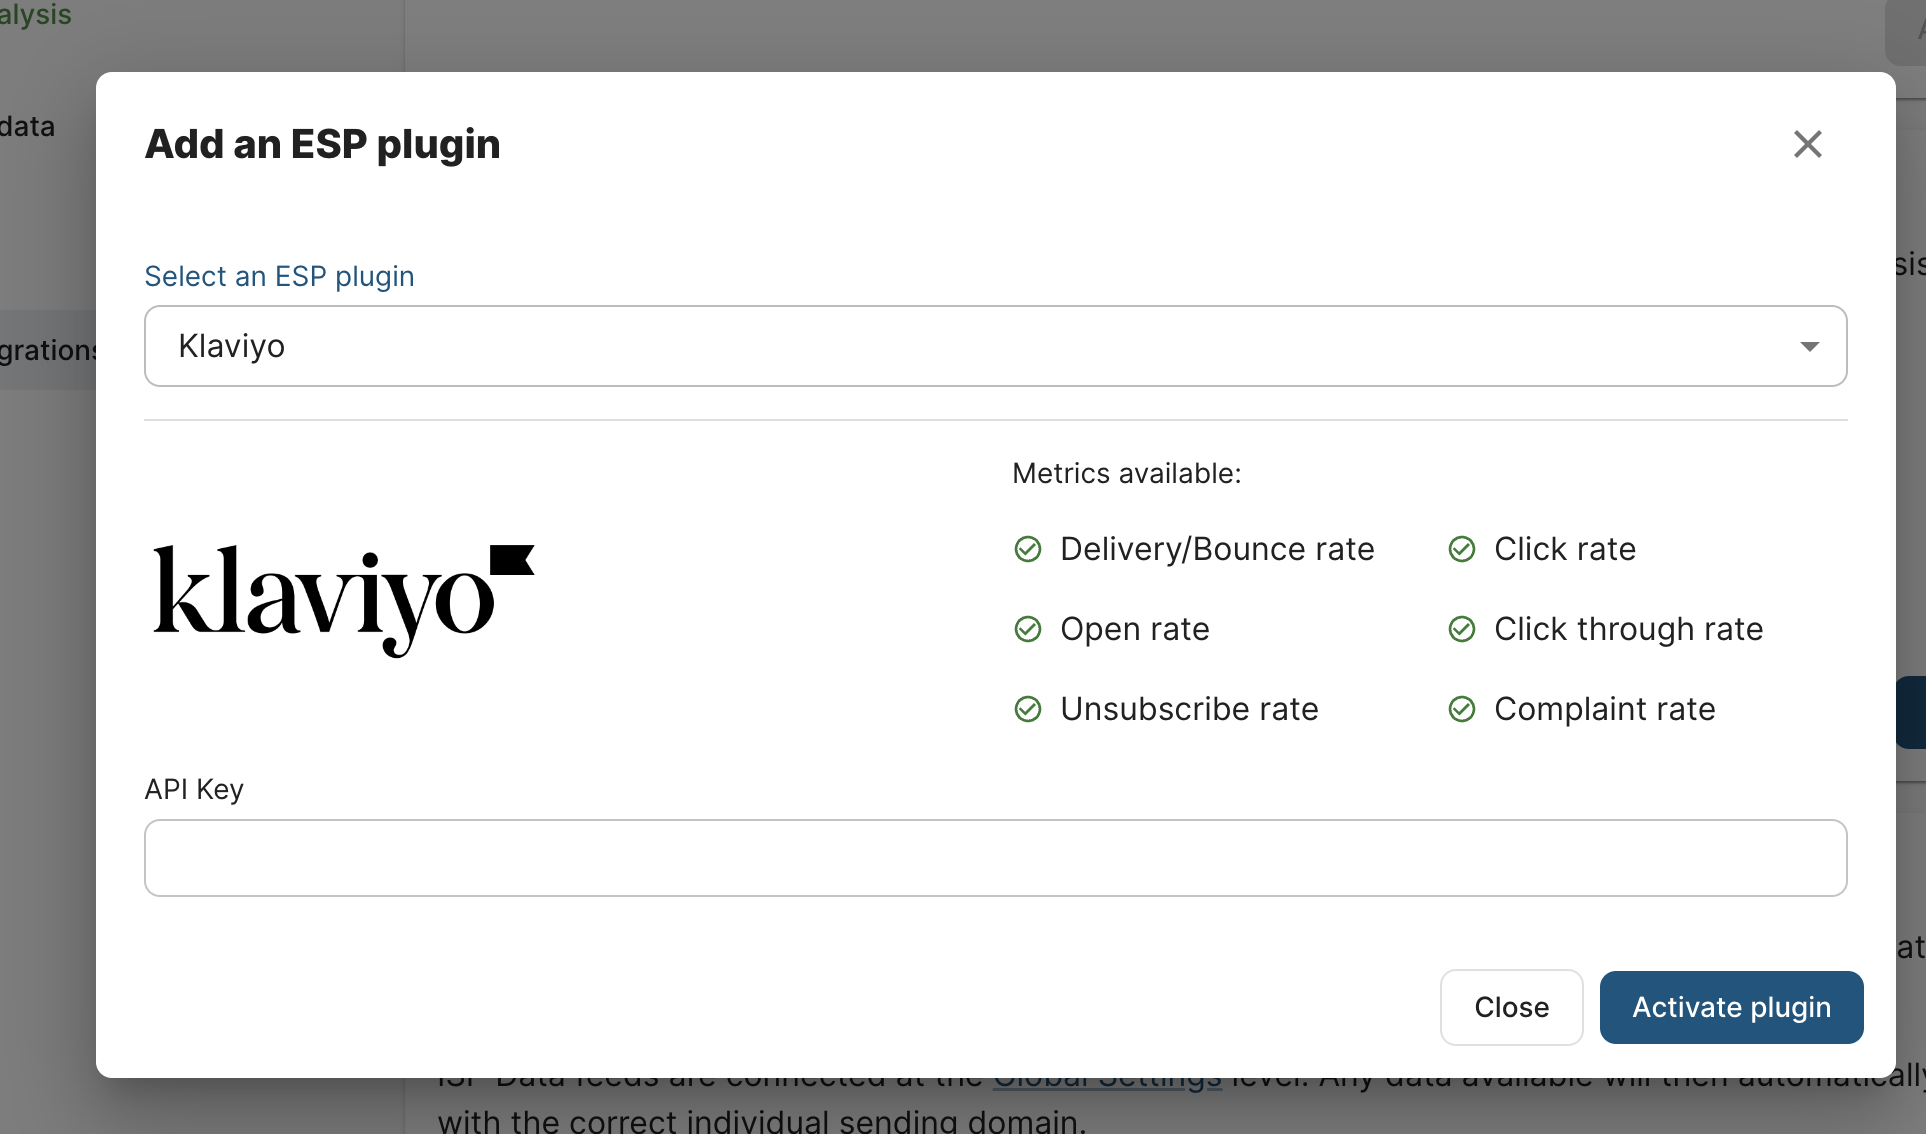
8. Click on Add plugin and select Klaviyo.
7. Paste your Custom API Key that you have copied (on step 5) on the API Key field and click Activate plugin.
Step 3. Start using the new workflow!
Each time you create a new campaign and are ready to send live, first send a test to your unique SendForensics analysis address for pre-emptive deliverability analysis.
After receiving it, the system will process your email and display the full deliverability analysis results within your SendForensics dashboard.
Cycle through the tabs following the advice and recommendations to optimize the deliverability of your email as much as possible, re-testing as necessary. When you have reached a comfortable deliverability score (vs amount of work needed to improve it further), the campaign can be sent live.
If the setup has been completed correctly, data for the next live campaign will be analysed and displayed within the Reputation dashboard within your SendForensics account, along with any warnings within individual analyses.
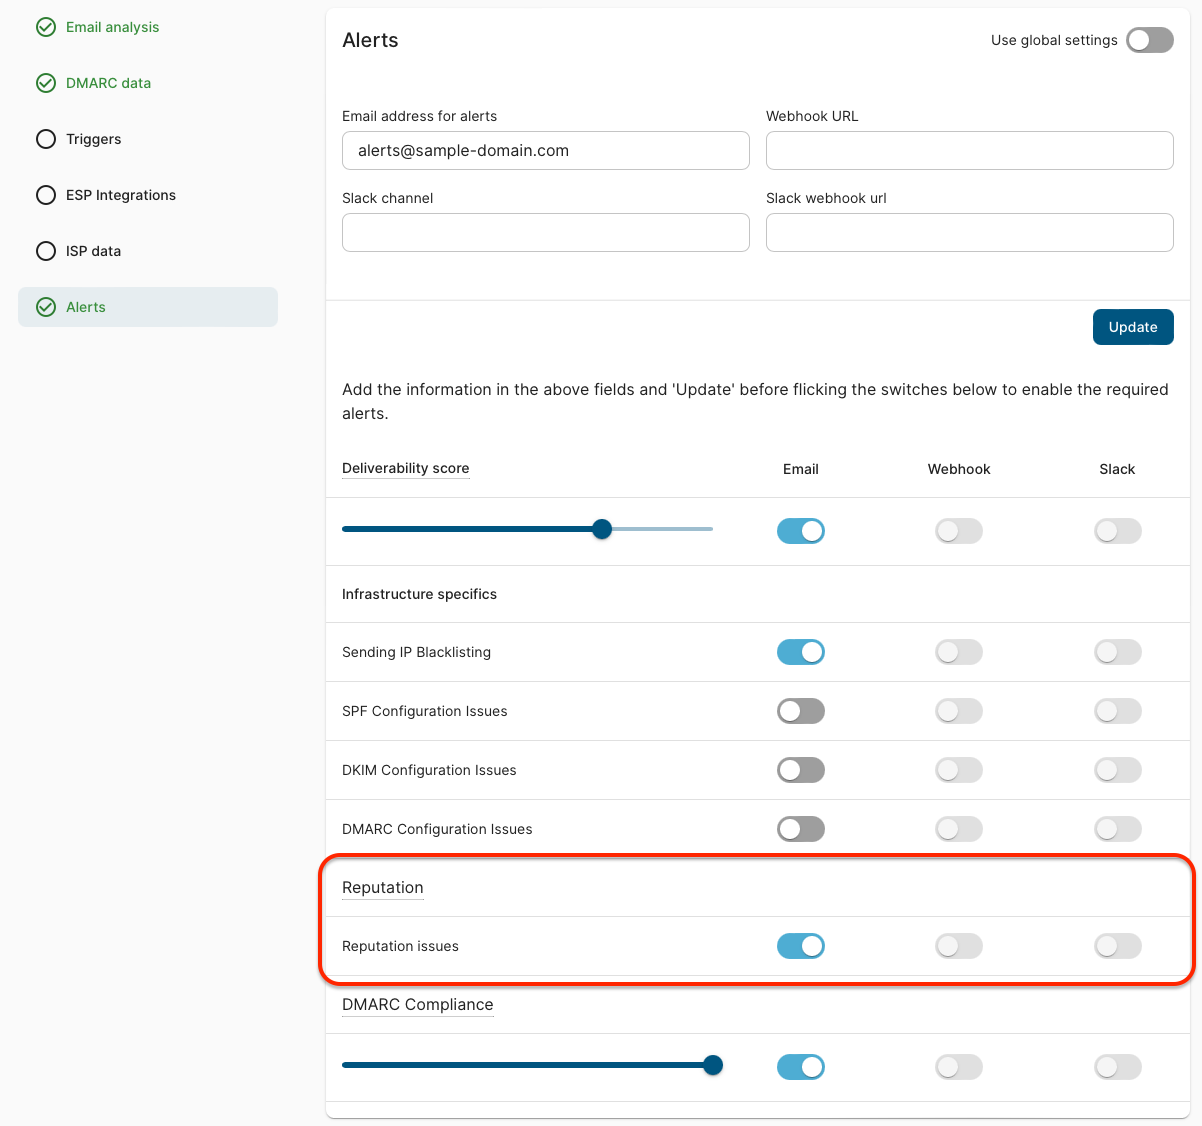
You can then setup automated alerts (Domain settings > Alerts) to warn of current or impending issues that can impact your reputation:
Note: Engagement data is pulled in for analysis once per day, so there may be a delay between activating the plugin and receiving the first batch of data.