HubSpot Setup & Usage Guide
There are 3 simple steps to successful integration of SendForensics with HubSpot:
- Add SendForensics as a contact within HubSpot & create a testing list
- Activate the Plugin within SendForensics
- Verify your SendForensics analysis address for pre-send testing (Optional)
Step 1. Add SendForensics as a contact within HubSpot & create a testing list
The SendForensics system needs to become another recipient of your emails to be able to analyze your deliverability properly:
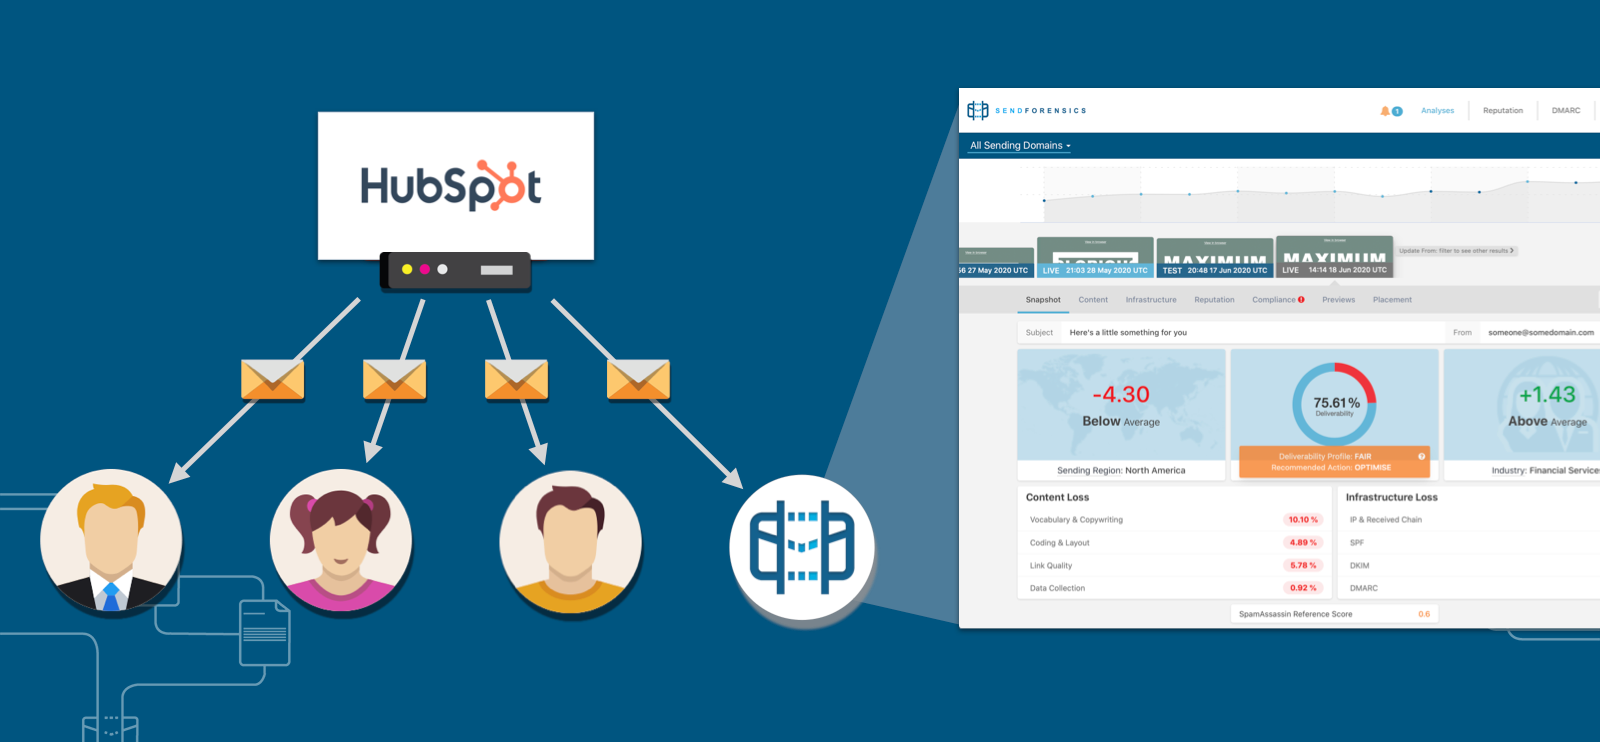
To do this, first locate your unique SendForensics analysis address within your SendForensics account (Account > Addresses):
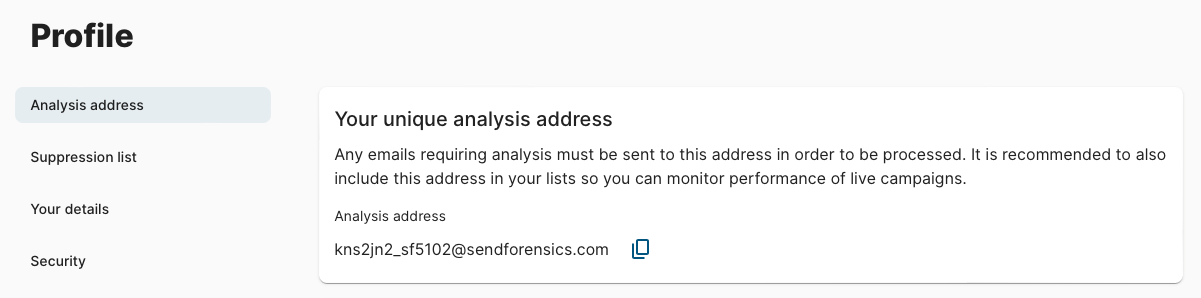
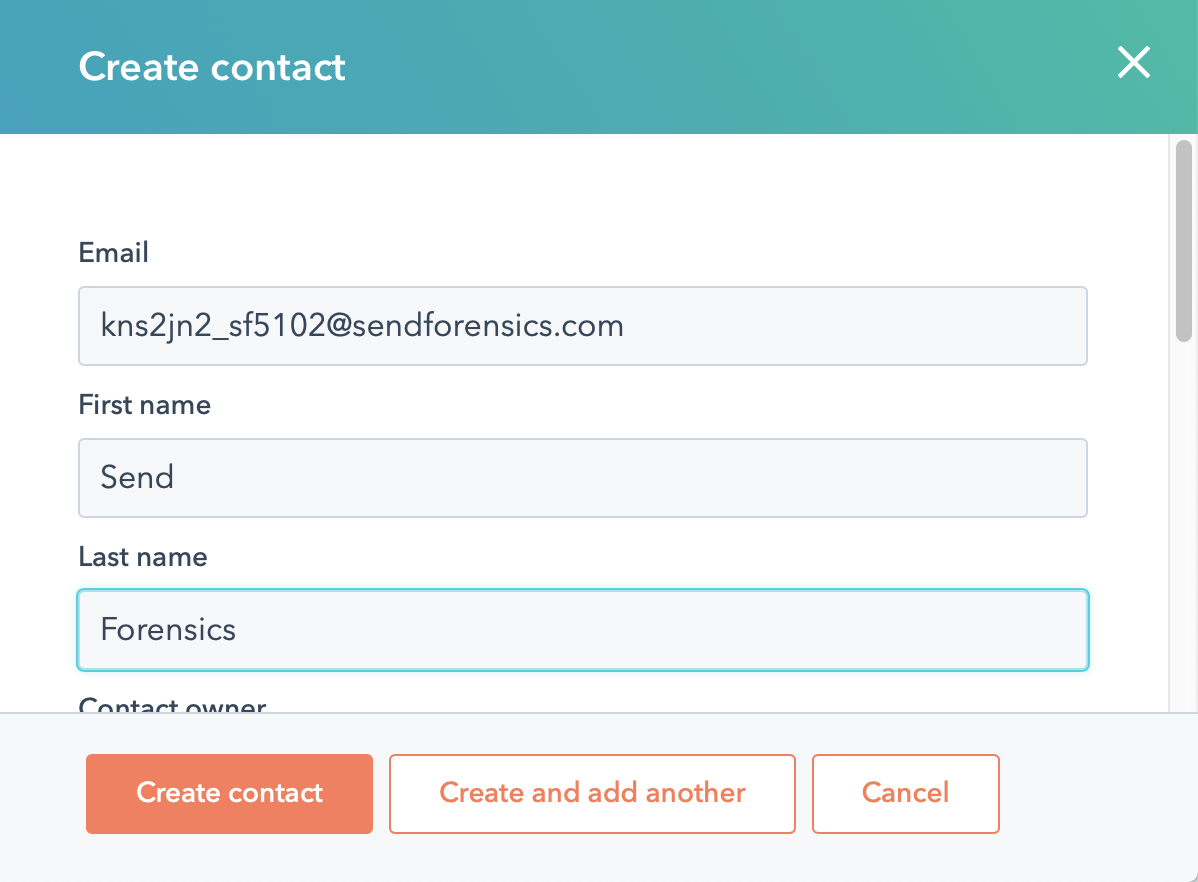
Now copy this unique analysis address and add it as a new contact within your HubSpot account (Contacts > Contact, Create contact):
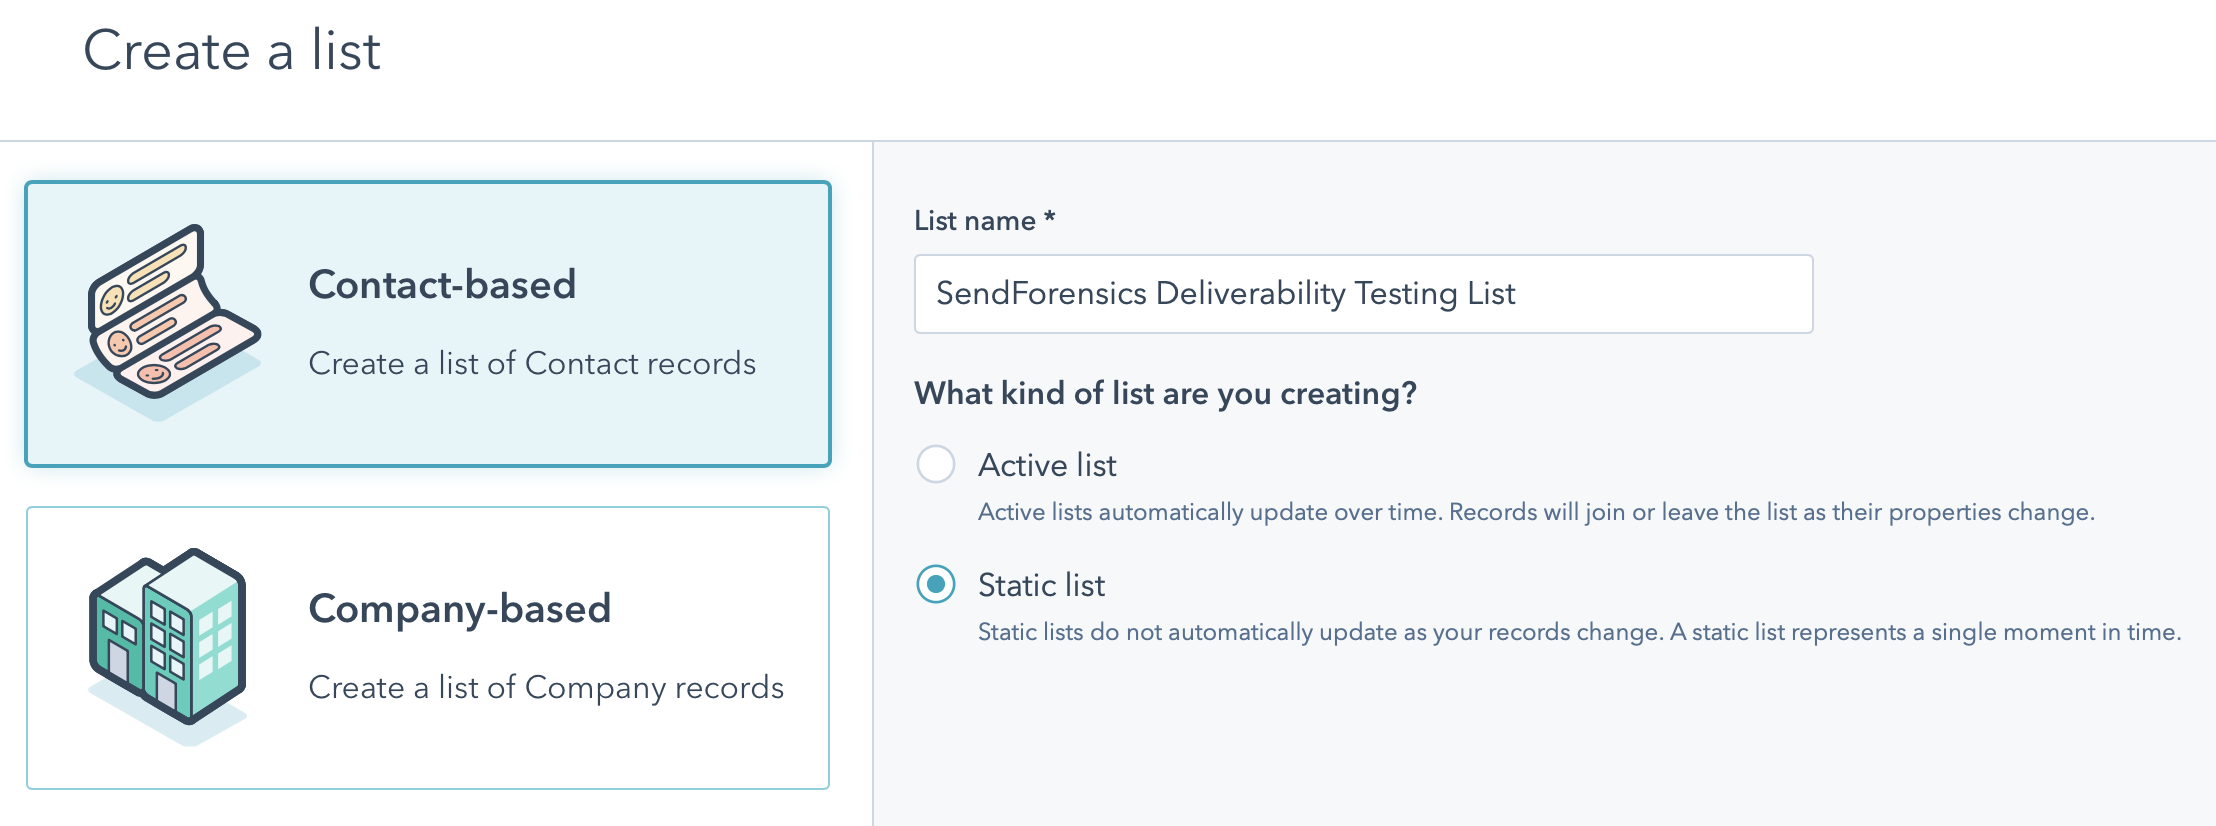
We would next suggest creating a new static list just for this contact (Contacts > Lists, Create list), calling it something recognizable so it can be easily included in all live sends:
Now whenever you send a marketing email within your HubSpot account (Marketing > Email), always include this list and the SendForensics system will receive a copy for analysis:
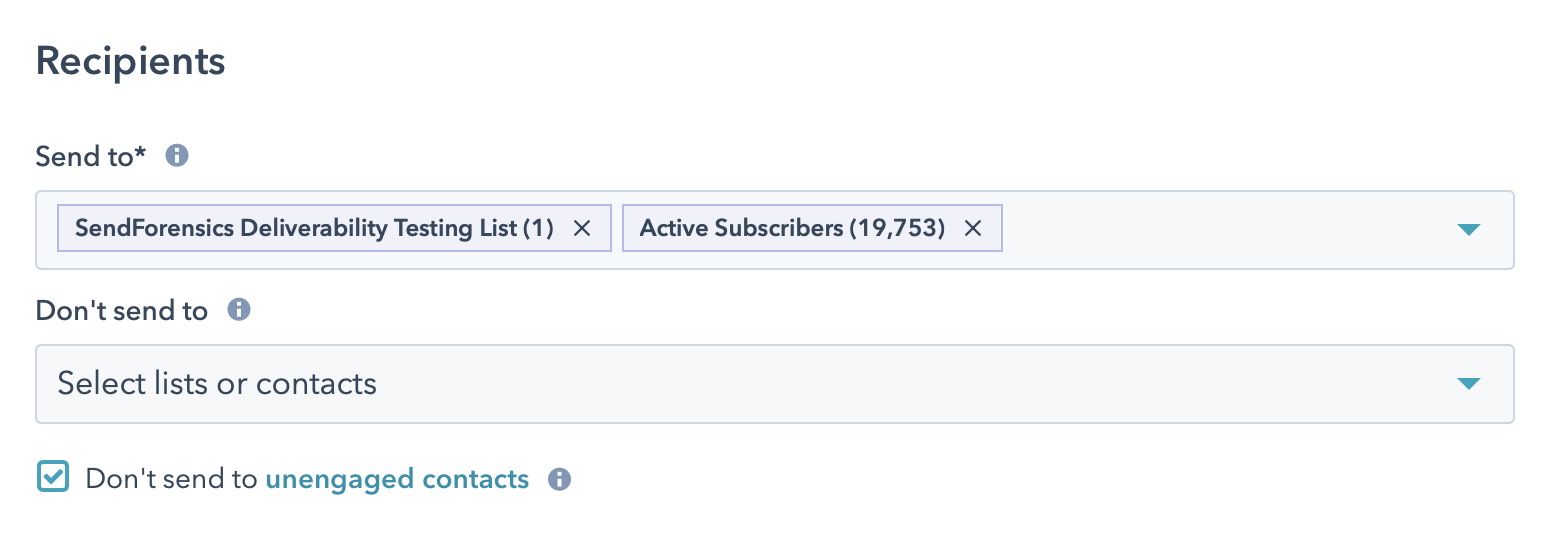
Step 2. Activate the Plugin within SendForensics
This will enable the automated analysis of your HubSpot engagement data* to complete the deliverability picture:
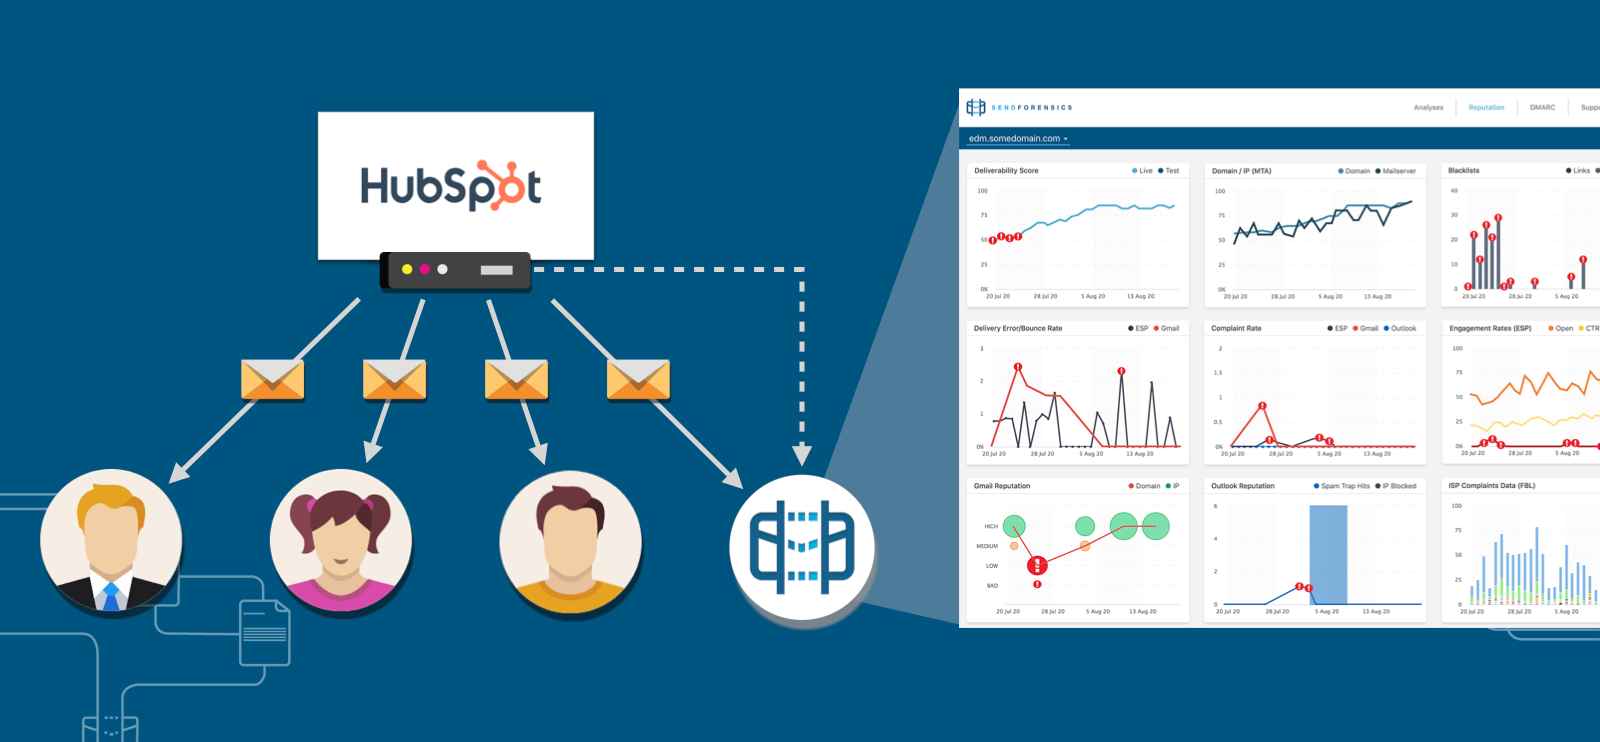
*Anonymous, aggregated email marketing metrics containing no personally identifiable information (PII). More information »
Required Permissions
If you are a Super Admin user (the default if you created your company's HubSpot account) then you can skip straight to the Connection Process. If you are unsure, you can try and connect anyway, then if it doesn't connect continue reading below as you are unlikley to have the required permissions.
If you are not a Super Admin user for your HubSpot account, then you will likely need to contact your administrator to give you the required permissions to be able to connect the plugin (or just make you a Super Admin user too).
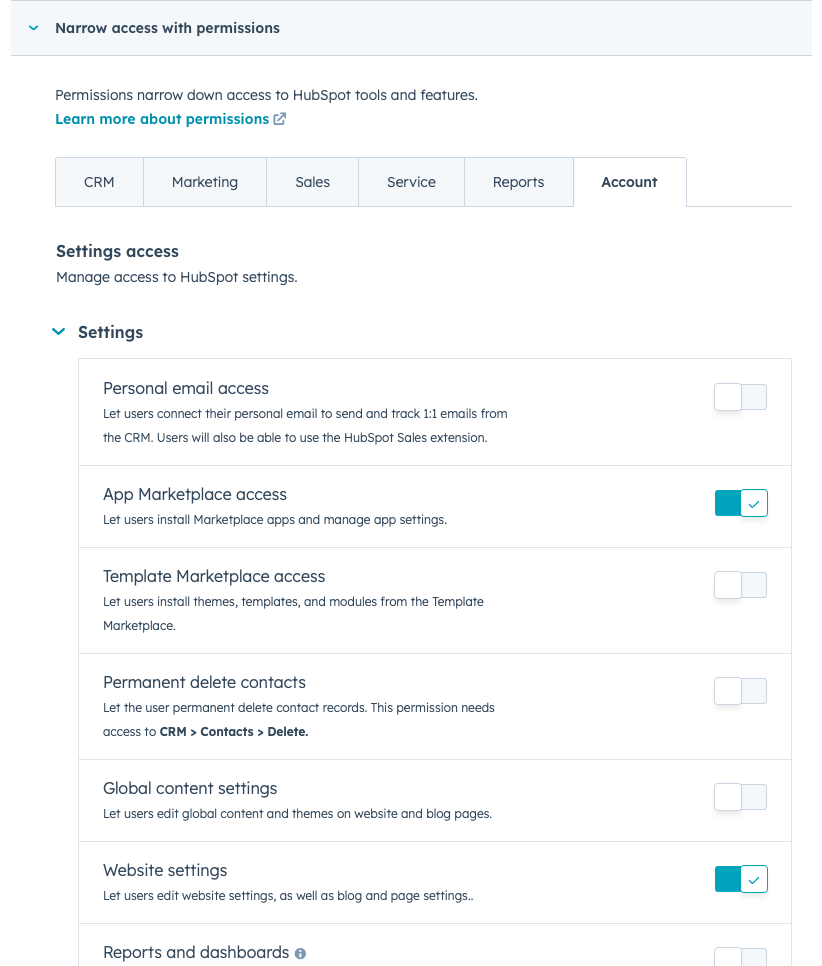
The permissions required are as follows:
- Account permissions > App Marketplace access
- Account permissions > Website settings
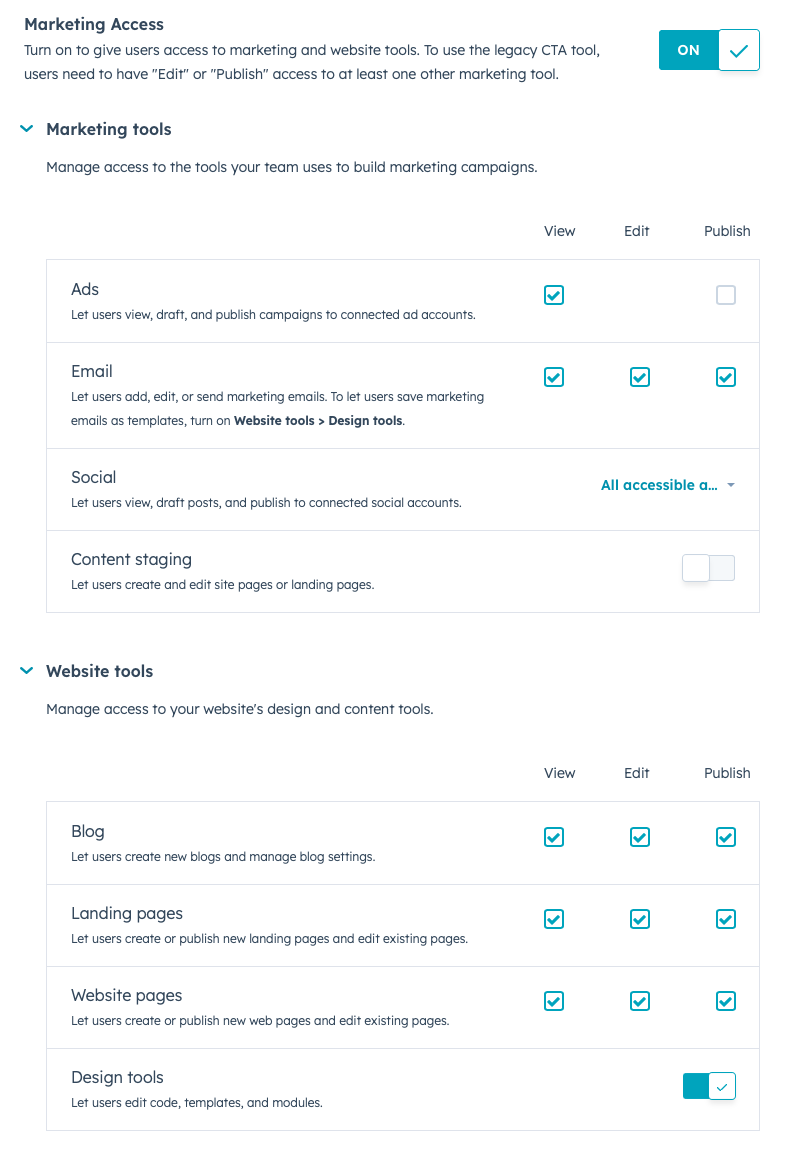
- Marketing permissions > Marketing Access
- Marketing permissions > Marketing Tools
- Email (View / Edit / Publish)
- Marketing permissions > Website Tools
- Blog (View / Edit / Publish)
- Landing pages (View / Edit / Publish)
- Website pages (View / Edit / Publish)
- Design tools
Connection Process
1. Login to your SendForensics account, visit the Domains Settings page.
2. Click on the desired domain, and go to "ESP Integrations". Note: this will not work for the hubspot.com domain, it has to be enabled for your sending domain.
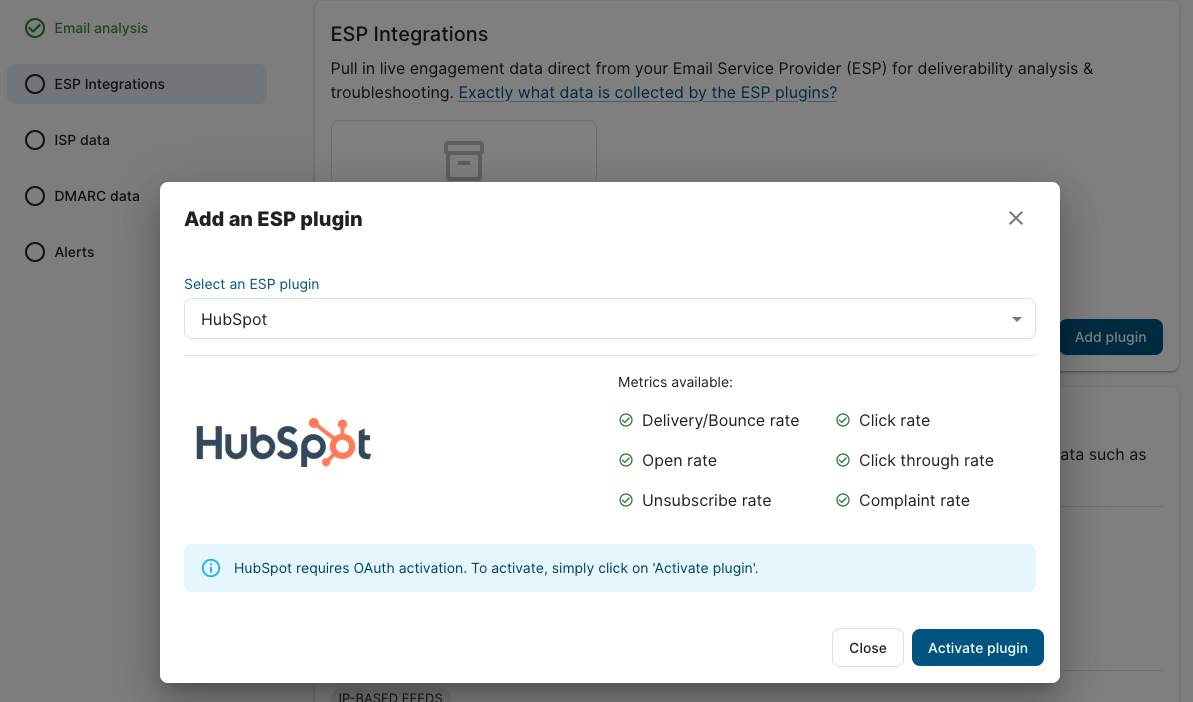
3. Go to "ESP Integrations", "Add Plugin" and select "HubSpot".
4. Click on Activate Plugin.
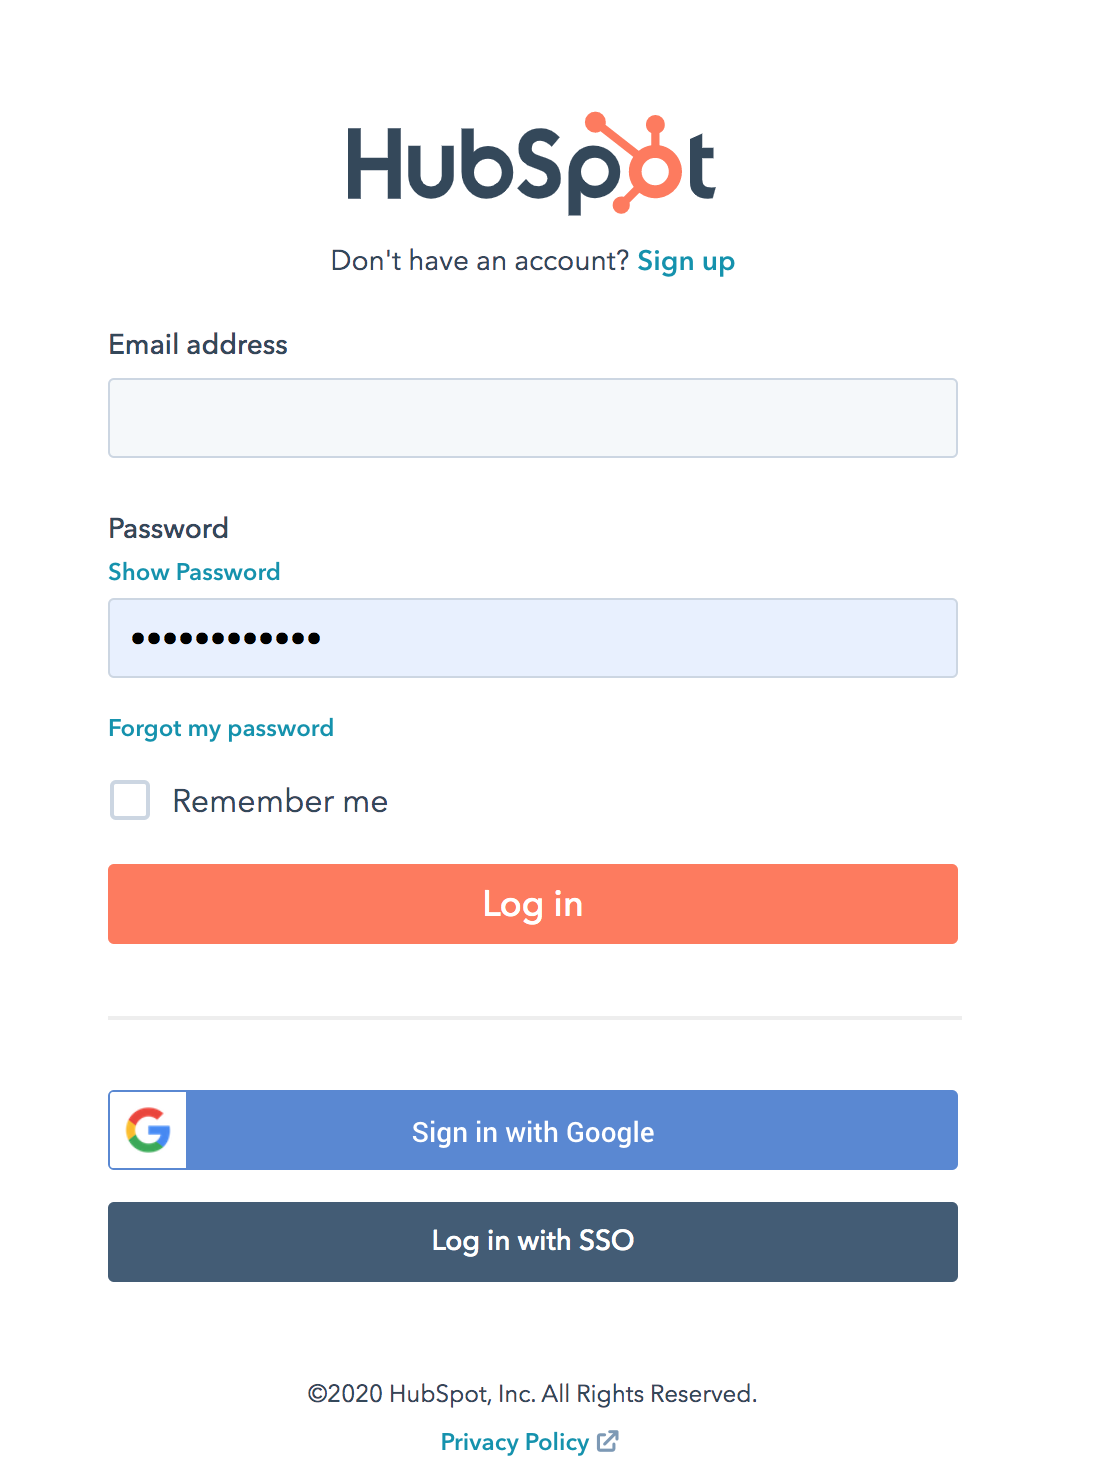
5. On the new tab, please log in to HubSpot if you are prompted.
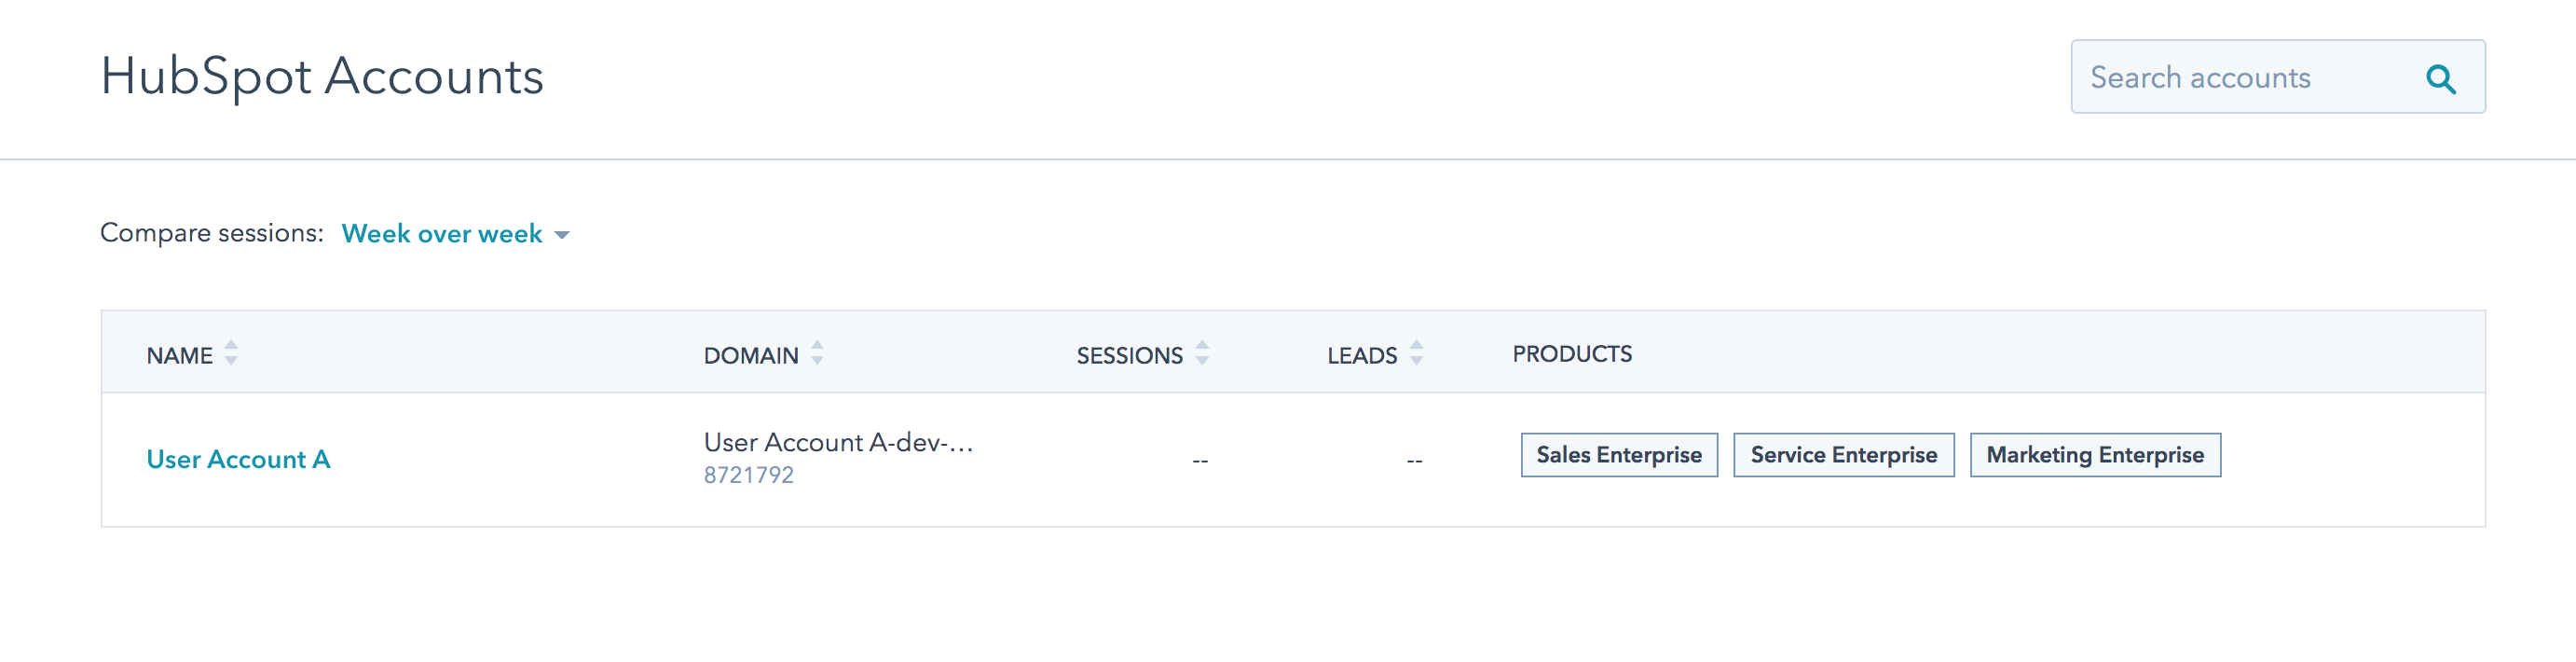
6. On the HubSpot Account page, click on the desired account.
7. Click on Connect App.
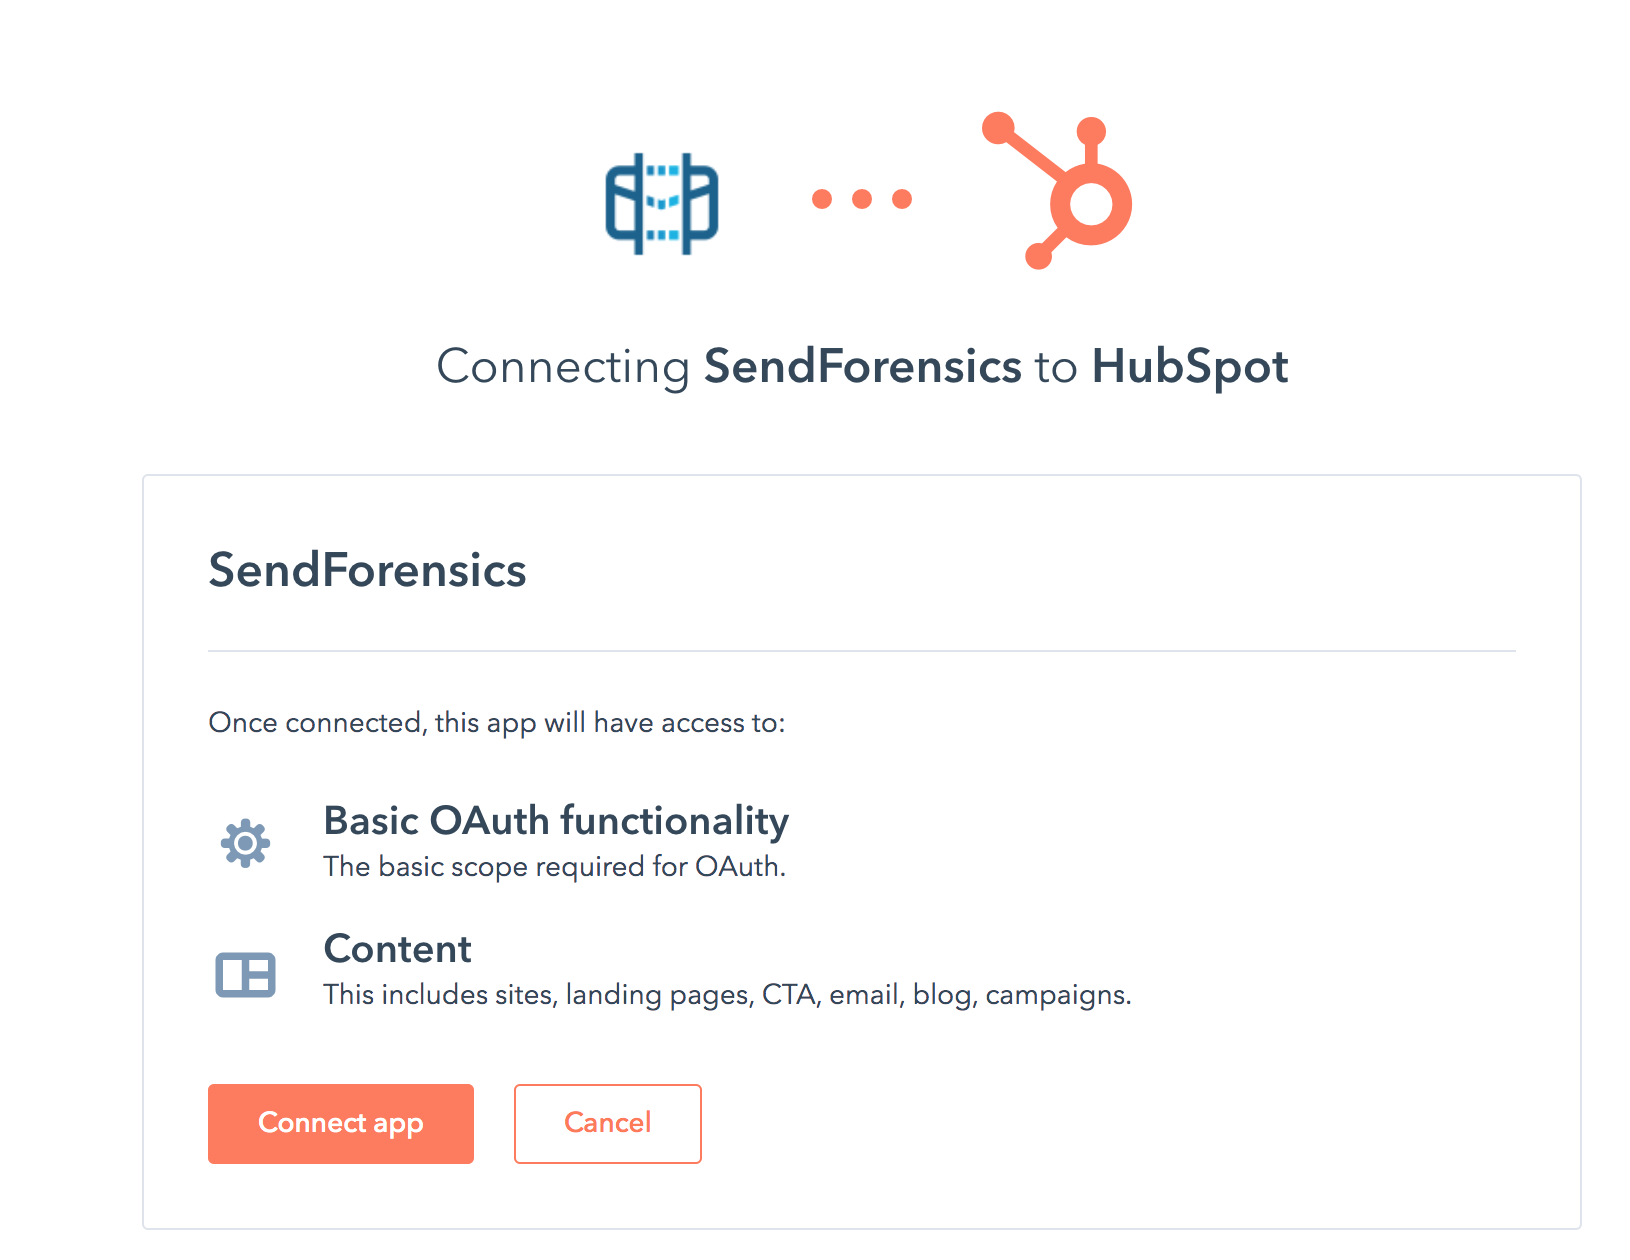
That's it! SendForensics will now automatically pull in and analyze the engagement data for all live Marketing Email sends.
Note: Engagement data is pulled in for analysis once per day, so there may be a delay between activating the plugin and receiving the first batch of data.
Step 3. Verify the SendForensics analysis address for pre-send testing (Optional)
We always recommend pre-emptive deliverability testing of your campaign emails before you send them out live to your list(s).
However, unusually amongst ESPs HubSpot only allows you to send tests from noreply@hubspot.com, rather than your own sending address, so a deliverability analysis of these tests will not be a true representation compared to a live send.
That said, pre-send testing is still useful in this instance for checking email content issues (words, phrases, links etc.), as well as rendering tests (Previews tab).
To send test emails to the SendForensics system, you will need to enter your unique analysis address as a recipient in the "Send a test email" dialogue box:
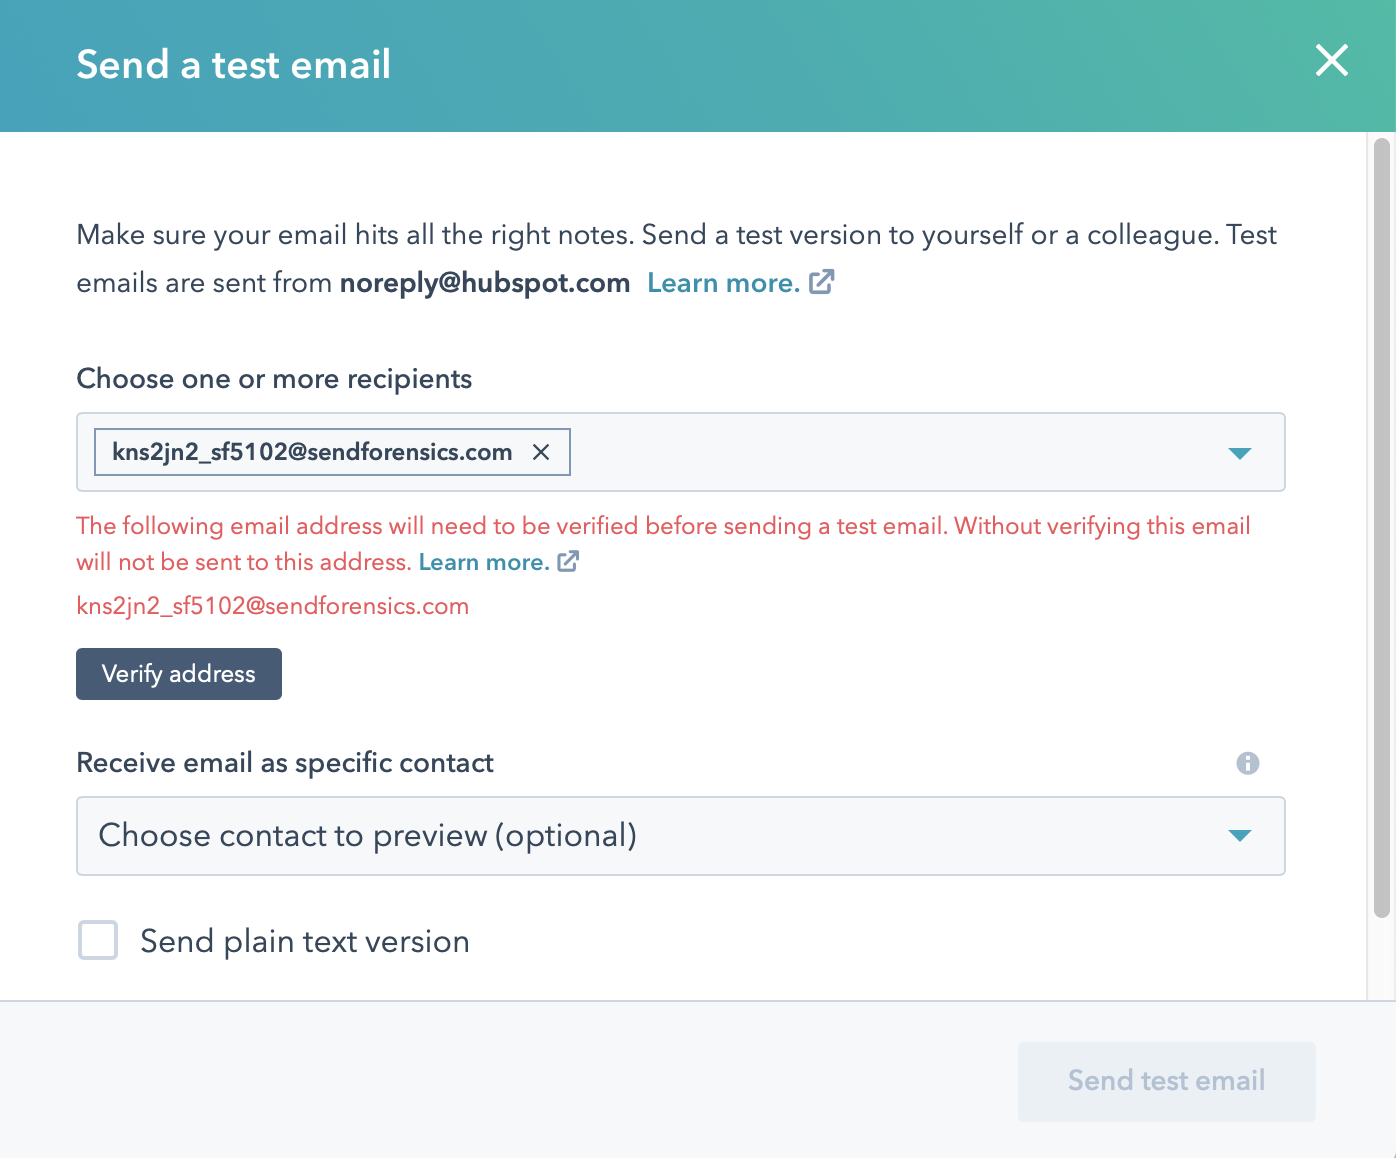
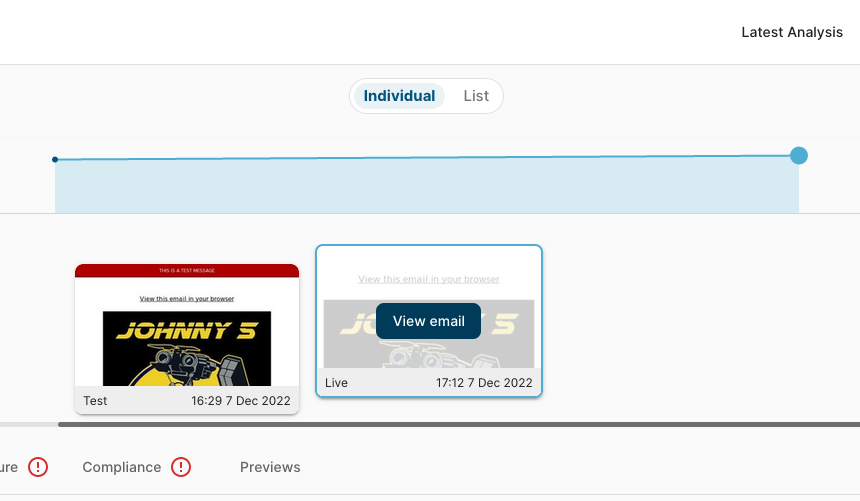
HubSpot will likely require this email to be verified, so click "Verify address" to send a verification email to your unique analysis address. When the email arrives within your SendForensics account, click "View Email" and you will be able to click to approve:
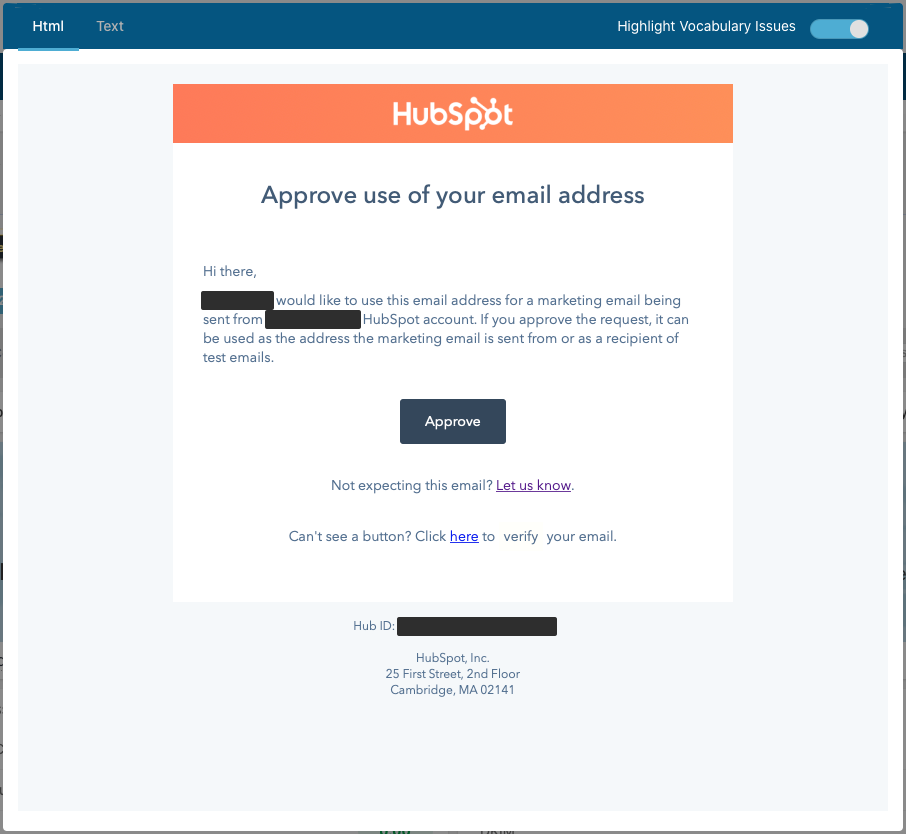
You will now be able to send test emails to the SendForensics system for pre-emptive analysis.